
How to: Decorate a Wooden Slice with Alice Charlotte
Posted by Cass Art on 19th Aug 2019
Manchester based artist, Alice Charlotte shares a part of her creative working by showing us how to decorate a wooden slice using an array of Cass Art materials. These slices are excellent for adding a unique touch to a gallery wall! Over to you, Alice!
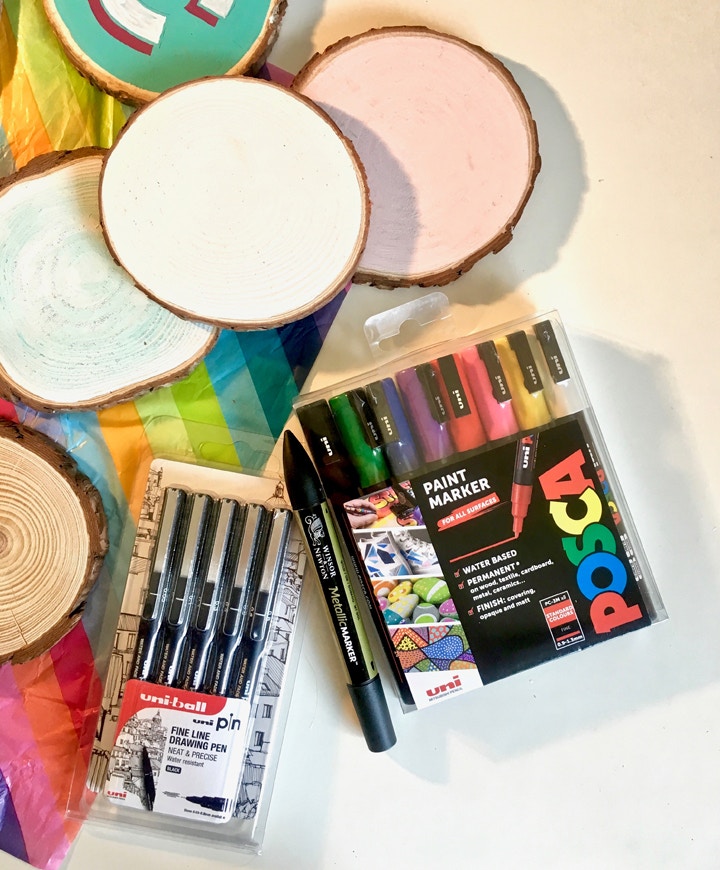
WHAT YOU NEED
- Wooden Slice
- Small screw in hook
- White Paint - I used acrylic
- Pencil (and optional tracing paper)
- Winsor & Newton Gold Metallic Marker
- Uniball Fineliners
- POSCA pens
- Varnish
STEP 1
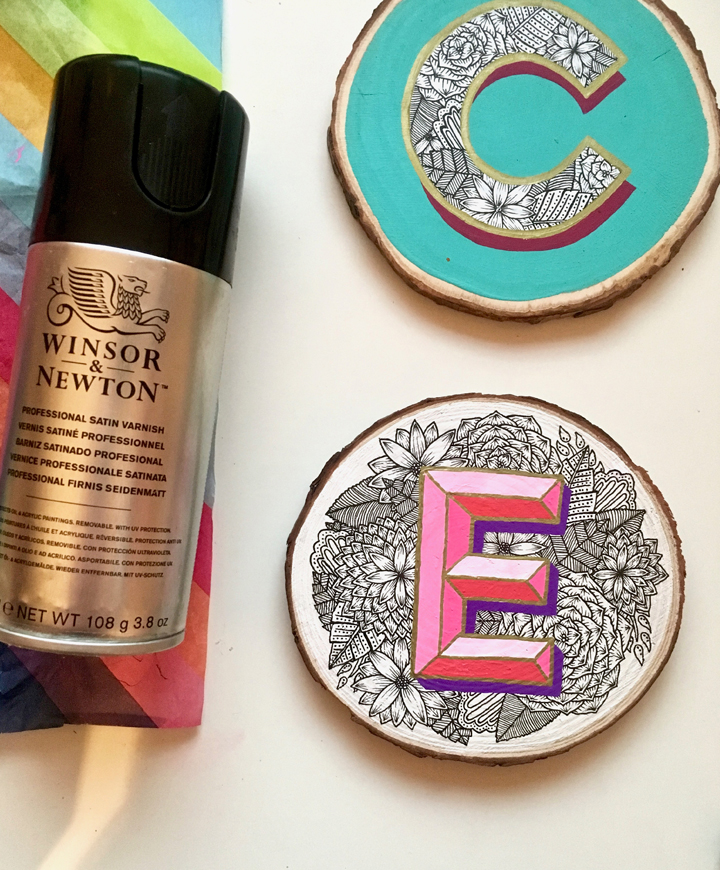
Paint one side of the wooden slice a block colour, I chose white to not distract from the intricate detail of my illustration - but any colour works well as you can see from the example below!
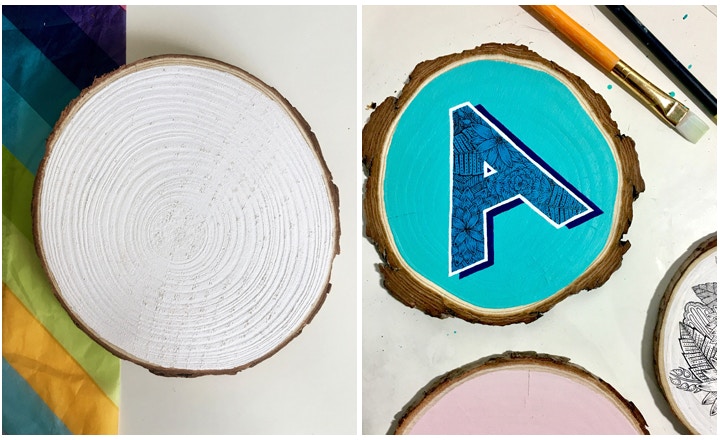
STEP 2
Once that has dried, pencil out the edges of your chosen letter (using tracing paper if you would like a more precise edge). Add a drop shadow to the outline, and create inner lines by drawing a diagonal line from the corners and then once these meet, a straight line to join those.
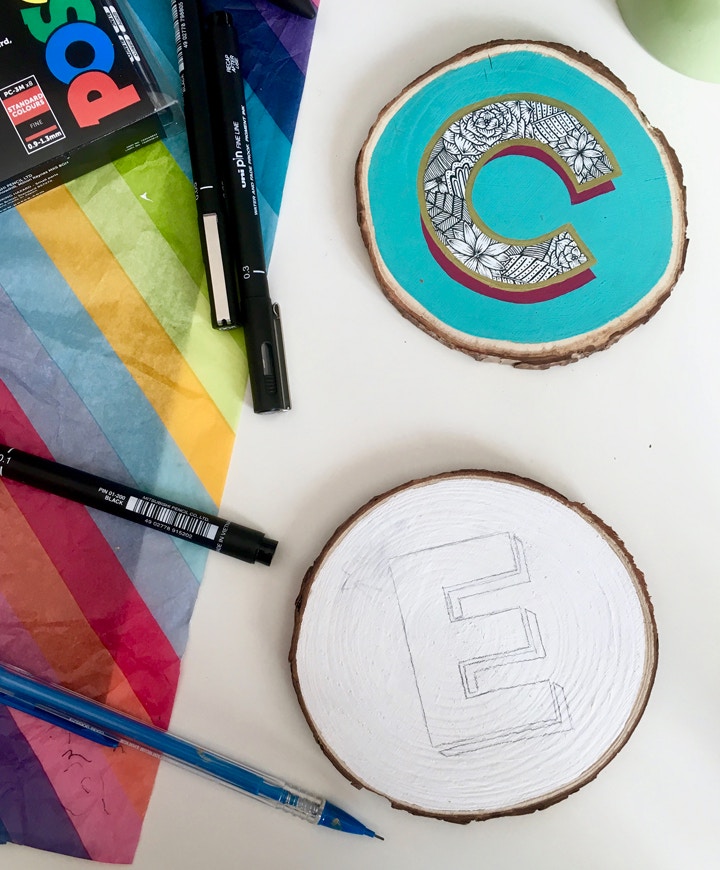
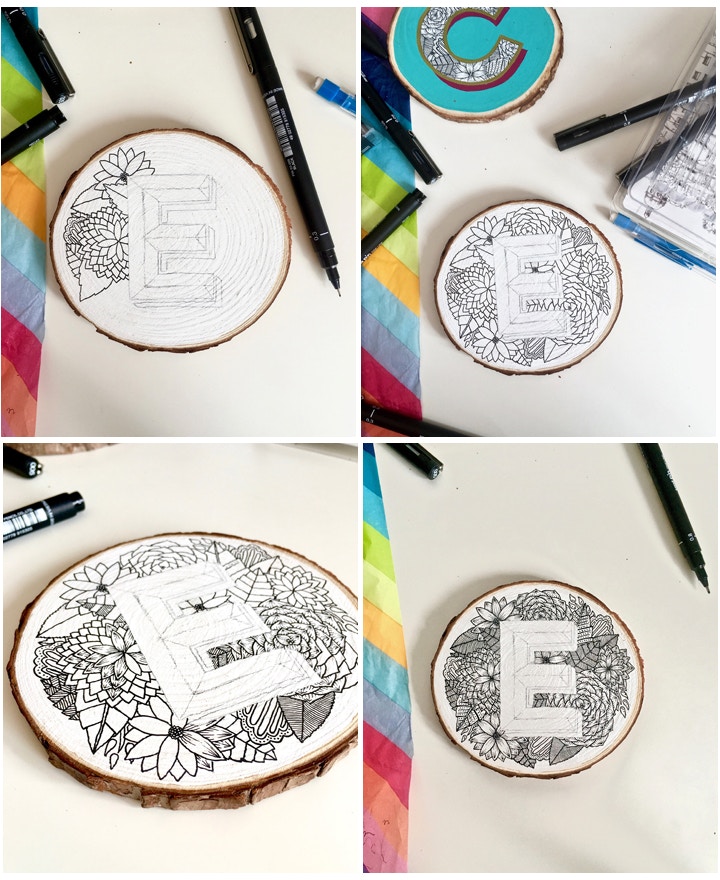
STEP 3
Around this outline, begin drawing your chosen style of illustration using the uniball fine liners. I chose a floral pattern which I created using the medium (0.3) pen to draw the shapes and outline and then filled in most of the details using the thinner (0.05 and 0.1) pens with the thicker (0.5 and 0.8) pens in a few parts to add depth.
TOP TIP
When doing this part, be really careful not to smudge what you have just drawn with the side of your hand!
STEP 4
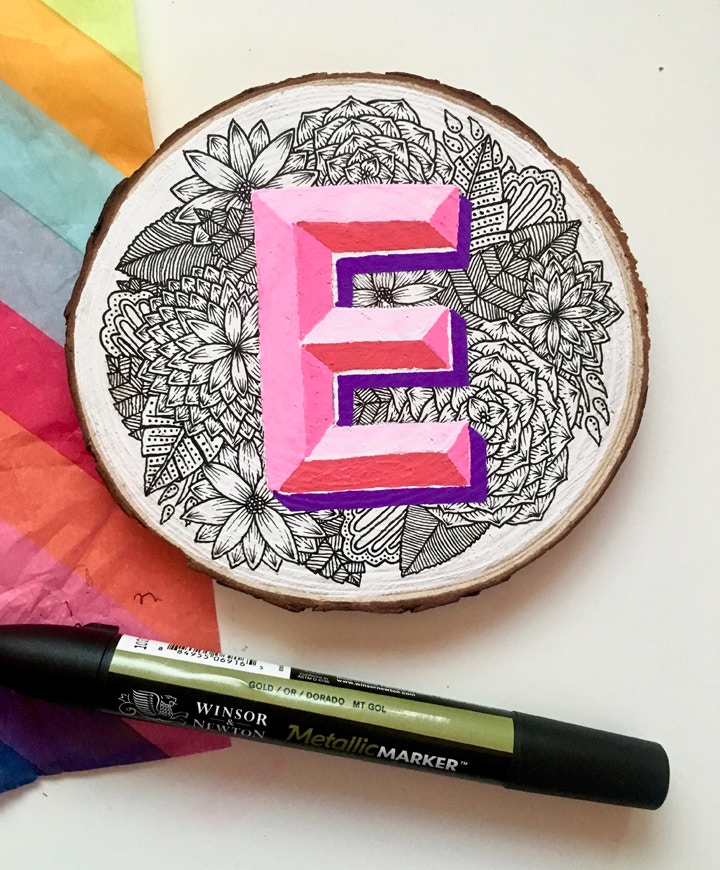
Using the POSCA pens, it’s now time to create the letter. The choice of colour works best in a similar colour range - using the lightest on the top sides, a slightly darker one on the left, darker again on the right, and the darkest on the bottom. The edges of these don’t have to be too perfect as this will be outlined. I used the pink, white and red posca pens which I then mixed on the wood to create the right colour.
STEP 5
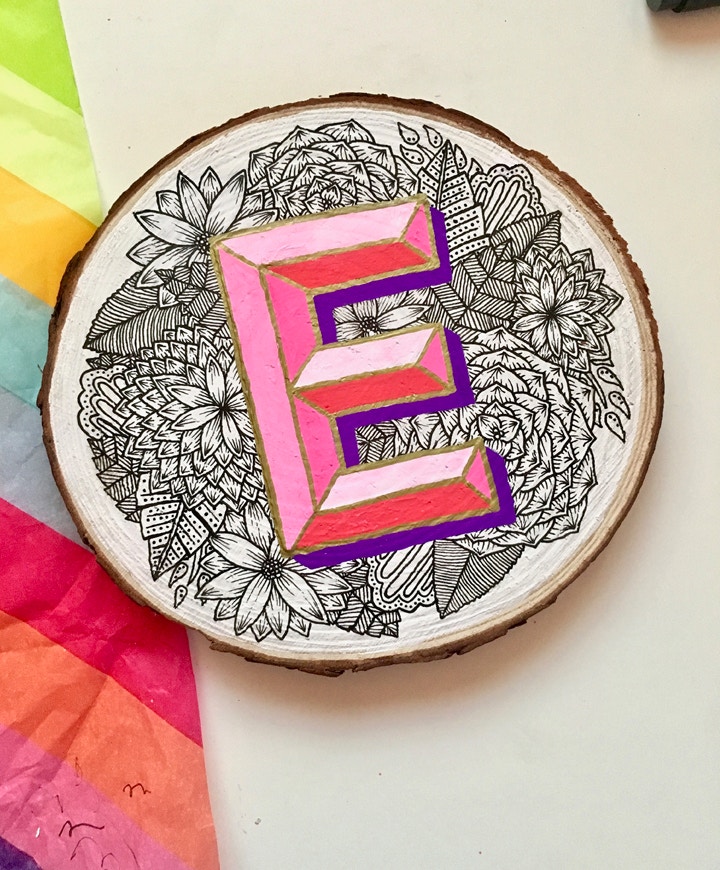
Then fill in the pre-drawn shadow using a different colour - remember that the edge furthest from the letter will not be outlined - so make sure this is as smooth as possible. I chose to use purple.
STEP 6
When the Posca paint is dry, use the gold Winsor & Newton Metallic Marker to outline the letter. You can press down slightly harder on the main outline to create a thicker line, then between the different inner colours, use the marker lightly to create a thinner line.
STEP 7
Once this is dry, leave it overnight, then spray varnish (I used Winsor & Newton Professional Satin Varnish - as recommended to me in Cass Art, Manchester!) to secure the design. The more layers and covered the wood slice is (ie. both sides), the more durable it will be.
STEP 8
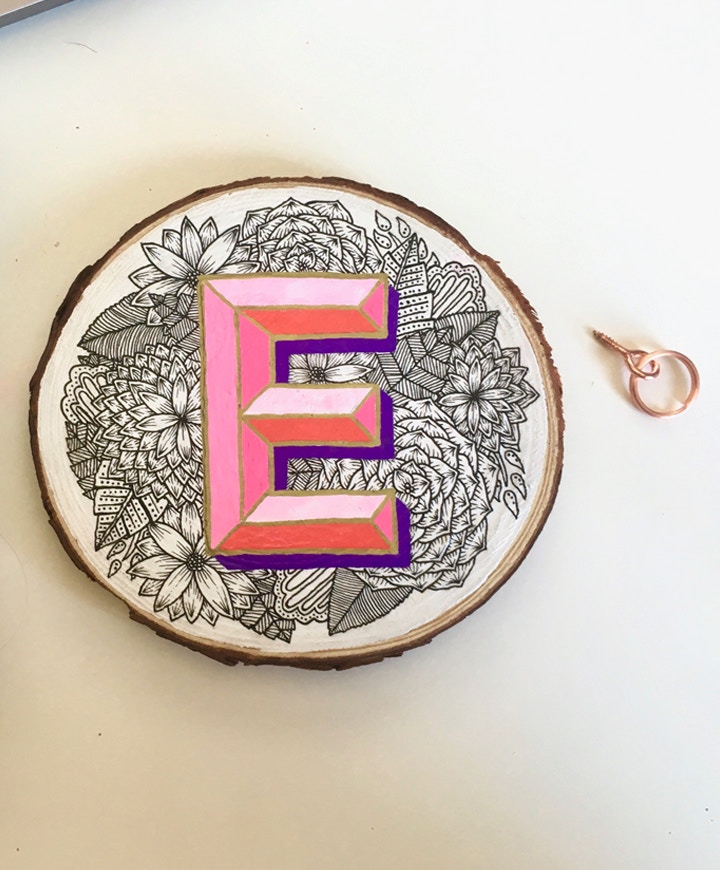
You can then screw a hook into the back of the slice to hang as a unique touch to a gallery wall, or as decoration alongside other letters to create a word.
Thank you Alice for showing us how to create this unique decoration!
FEELING INSPIRED?
Find out more about Alice Charlotte by checking out her Instagram, Facebook and Twitter social media channels.
Also check out her website, if you're interested in buying her amazing artwork!

