
How to: Draw Shoes with Charcoal
Posted by Cass Art on 5th Aug 2018
If you want to master how to draw, practice is key. Observational drawing of everyday objects is a great way to get to grips with how to sketch. Since you are not relying on people or animals as your subjects, you can fit your drawing practice whenever suits. It'll give you time to perfect your drawing craft.
Shoes have been a favourite motif of many artists from Van Gogh to Warhol. Your choice of shoes to draw will tell a story in itself, and the various shapes and surfaces of your chosen footwear allow for a range of artistic finishes. In this ‘how to draw’ blog, we'll show you how to draw a pair of baseball boots using a Derwent Mixed Charcoal set.
Charcoal has a wonderful visceral quality, which makes a finished artwork so expressive. So it’s a perfect art medium for adding life to ordinary objects. The great thing about Derwent Charcoal Pencils is you get all the versatility of traditional charcoal, but the pencils are easier to control and produce far less mess. Plus, because they’re pencils, they’re easy to sharpen to a point when you want to add fine details. This step-by-step guide not only shows you how to draw shoes but is also a sound introduction to charcoal drawing.
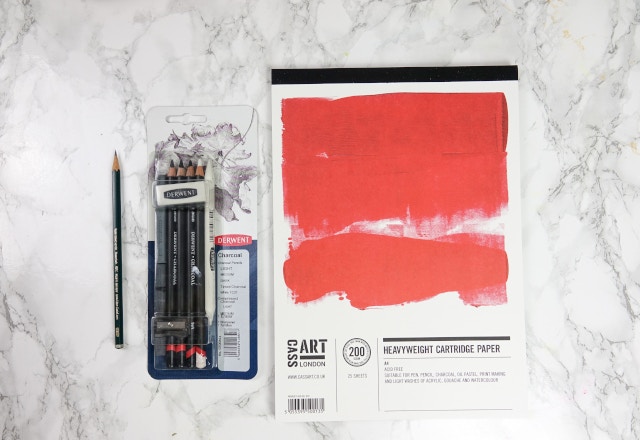
For this ‘How to Draw Shoes’ guide, you will need:
- The Derwent Mixed Charcoal Blister Pack
- Faber Castell 9000 Lead Pencil in F
- Cass Art Heavyweight Cartridge Pad, A4
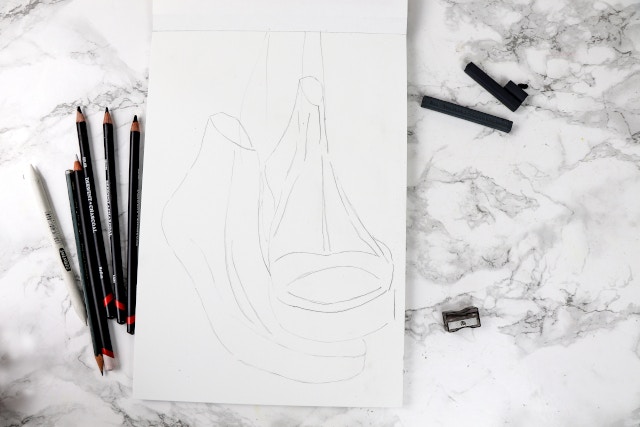
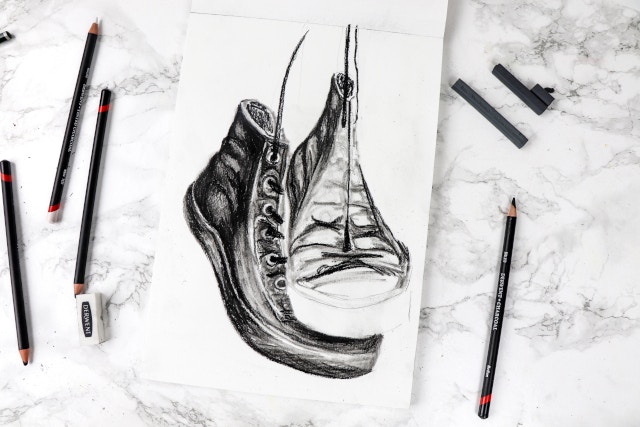
Step 1: Get down the basics
When learning how to draw shoes, think about how the shoe is made. When we observe how the shoe is constructed, drawing it becomes easier. Use a pencil to get the basic line elements onto the paper. Create pencil curves for sole and toe-cap, and mark the vertical lines for hanging laces and the centre of the shoe canvas. Make loose, horizontal pencil strokes where the soft material canvas upper meets the solid, rubber sole.
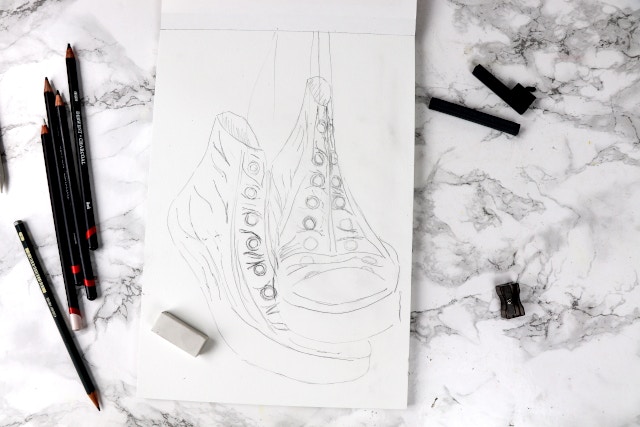
Step 2: Fill in the details
Using a pencil, draw in the creases, shadows and details of the shoe. This will serve as a guide for when you work.

Step 3: Start shading with charcoal pencils
Next, use your charcoal pencils to give your boot definition and shape. Make rough marks with the dark, medium and light charcoal pencils to fill in the areas outlined in step two as shown. This provides a solid structure and base for your charcoal drawing.
Step 4: Move and blend your charcoal
Add depth to your drawings and blend your initial charcoal marks with the pack’s paper stump.
Step 5: Work over your base
Now you have created a foundation of charcoal coverage you can start layering the charcoal to add further depth and shading. Shade with the medium and dark charcoal pencil strokes, remembering to blend with the side of the paper stump. This will make the shoes look more ‘solid’.

Step 6: Define with dark strokes
Once you are happy with the colour coverage, you can work with a sharpened dark and medium charcoal pencil to add more defined strokes and textural marks such as creases, shading, cross-hatching and rough lines and curves to create more detail. You can also use the pointed end of your paper stump and the pack’s rubber to remove charcoal marks, adding highlights and further definition.
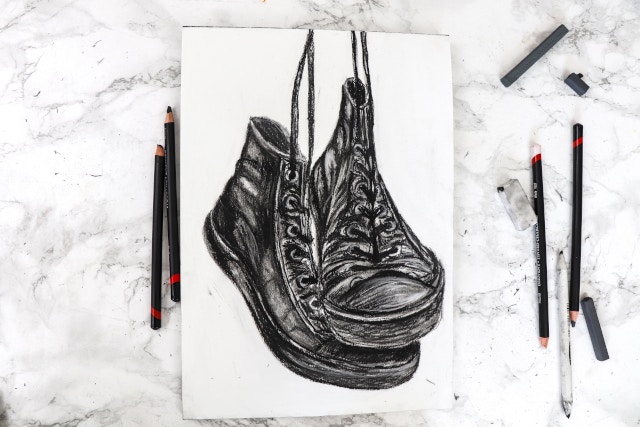
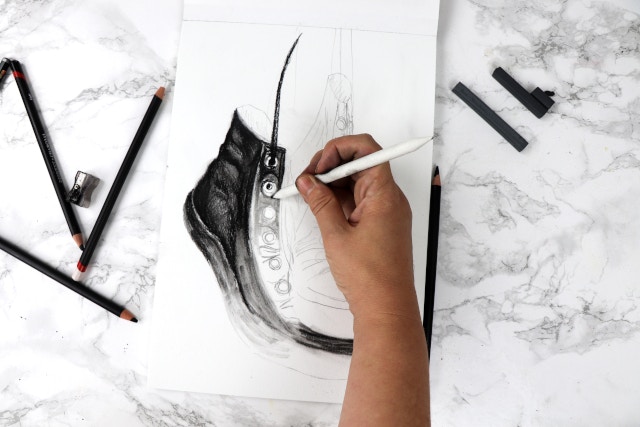
Step 7: Add white detail
Finally, use the pack's white charcoal pencil to finish the piece. Apply marks particularly where the boots pick up light such as the shoe eyelets, the front toe-cap and around the creases.
To see more work from the artist Ella Johnston visit her blog.

