
Explore Our Ten Must Have Portfolio Products
Posted by Cass Art Staff on 25th Aug 2021
Portfolio season can be stressful, especially the challenge of compiling and displaying your artwork. Here at Cass Art we want to make this time as easy as possible, so we’ve compiled a list of the top ten essential products for preparing the perfect portfolio.
1. The Portfolio
Most courses will accept A1 and A2 portfolios but it’s best to check the requirements with the college or your current tutor. Cass Art offers a range of suitable portfolios designed with students in mind and a 10% discount with your Cobalt Blue Card.
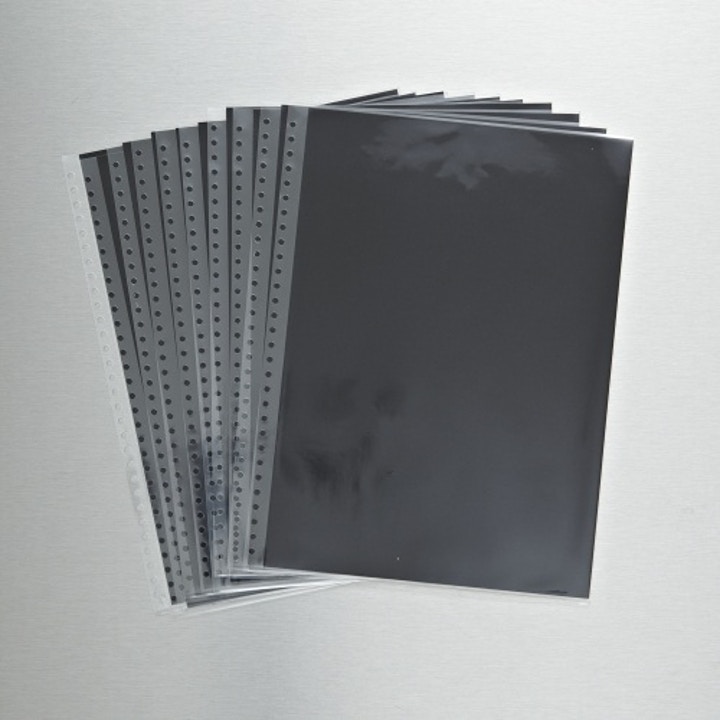
2. Sleeves
Cass Art’s own range of presentation sleeves are made from medium gauge PVC. Their non-stick surface means your work won’t be trapped or damaged when it comes to unveiling your portfolio. They also work perfectly with our Cass Art portfolios.
3. White Paper
The paper you choose to mount your work on is dependent on the nature of your work. It’s often recommended that you choose a crisp white heavy weight paper to let your work do the talking. Try Cass Art’s heavy weight pads of cartridge paper in sizes A4 to A2.

4. Black Paper
If your style is generally quite light and subtle, then it may be a good idea to choose a darker paper so your work stands out. The black range from Canford is ideal for this.
5. Scalpel knife
Once you have all your images printed on high quality paper, you need to cut them down to size. A scalpel is great for this, and the accuracy reached is incomparable.
6. Cutting mat
When cutting your photos and artwork, you need to ensure that you are using an appropriate surface. Our West double sided cutting mats are thick, durable and lightweight.
7. Mechanical Pencil
When mounting your artwork on paper, it’s important to place it exactly in the centre. Use a ruler to measure the centre of the paper and a mechanical pencil to mark where you need to place your artwork. Mechanical pencils are also ideal for this as they never go blunt.
8. Spray mount
When you know exactly where you’re going to place your artwork on the paper, you need to secure it in place. Apply a light layer of spray mount to the back of your artwork and attach carefully to the paper. Spray mount is also fantastic because you can reposition your artwork for up to 12 hours, if you didn’t get it right first time, without damaging a thing.
9. Double sided sticky tape
An alternative to spray mount is double sided sticky tape, especially if you don’t have a well ventilated space to spray in. The main difference between this and spray mount is that the tape sticks permanently- so make sure you position your artwork correctly the first time.
10. Putty eraser
Use a putty eraser to remove any excess glue or pencil marks. It’s the softest eraser available, so it won’t tear, crease or mark the surface.
Feeling Inspired?
Check out Cass Art’s Guide to Building a Portfolio

