
How to: Get started with Decoupage with Decopatch
Posted by Cass Art on 3rd Jun 2018
With a modern twist on Decoupage, Decopatch breathes new life into objects with their range of bright, bold patterns and papers. This decorative paper craft takes papier mache to a new level. Layer directly on to card, metal, wood, plastic and even glass and brighten up your everyday objects. It’s a great way to upcycle furniture, create beautiful sculptures and even keep the kids entertained.
Whether you’re 3 or 103, Decopatch is a fun and creative way to start crafting. With their own range of cardboard animals, picture frames and even bird houses, there is a breadth of brown objects just waiting to be transformed.
Explore our hands on tips for Decopatch with our step-by-step guide to getting started.
What You’ll Need
- A Decopatch Animal or Decoration of your choice.
Step 1
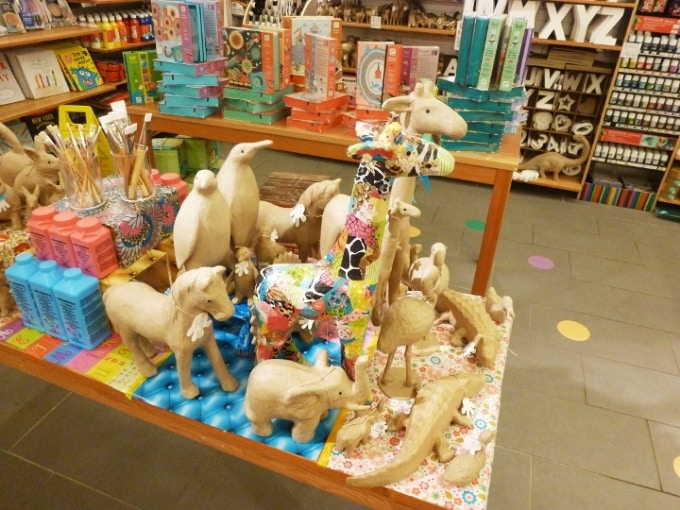
Choose and prepare your object. We have a huge selection of animals, including laid back turtles and playful cats, to horses and giant dinosaurs, as well as more practical objects, such as letters and numbers for you to transform your initials or spell out your name.
Looking to brighten up your festivities? We have a range of thematic objects too, including Easter rabbits and Christmas reindeer.
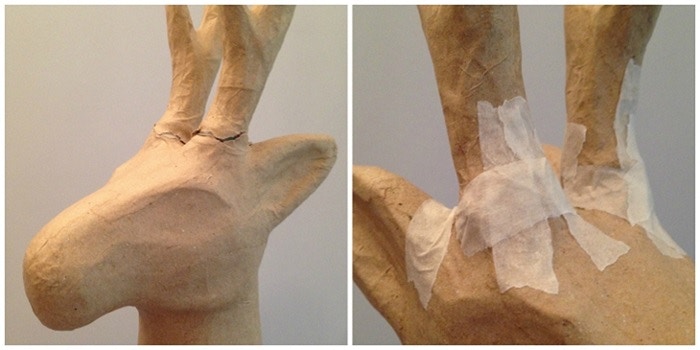
Ensure the object is ready for Decopatch by reinforcing any areas that may become weak when wet, such as the joins of legs or antlers. Any minor bumps and knocks can be filled in with masking tape, which will be well concealed when the first layer of paper is applied.
Step 2
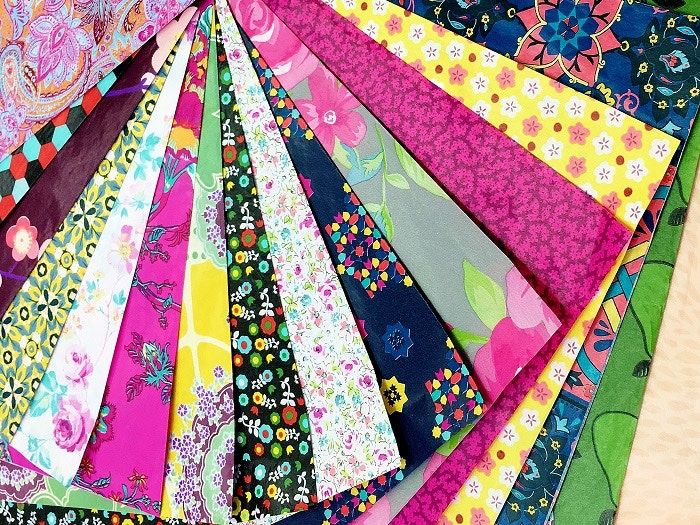
Choose your paper. We have a wide selection of papers and patterns for you to choose from, and combining the right colour combinations is something that you want to plan early.
Cut or tear your paper in to small pieces so you can collage them onto your object. The pieces should be quite small, to ease the application process, but do remember that the smaller the strips, the more distorted your pattern will become!
Step 3
Cover an area with PVA Glue or Decoptach Glue and place your torn up pieces of paper on top. Be generous with the glue, as it will dry clear so you don’t have to worry if it looks messy at the beginning.
Step 4
Apply thin layers of the glue on top of the paper to seal them firmly onto your object. Repeat all over until there are no blank spaces left or your desired look has been achieved.
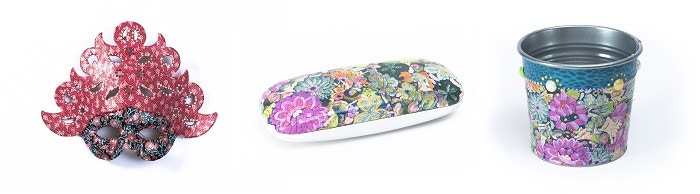
There are lots of different finishes that you can apply once your object is dry. You can add Decopatch jewels, glitter and even acrylic paints to add extra embellishments and details to your design. If you are looking for a high gloss, shiny finish you can cover your decopatch with a thin layer of varnish. Using professional varnish will also make them waterproof!
Looking to take it to the next level?
Decopatch works on a variety of surfaces, as well as combine it with other materials such as old newspapers, magazine pages or comic strips with the same technique, allowing you to personalise your decopage designs.
You can decopatch practically anything, from furniture and bikes to storage boxes and picture frames. Why not transform your everyday objects with a bold, colourful pattern?
Feeling Inspired?
Learn how to transform our Reindeer ready for Christmas with our How to Guide.
Create your own personalised decorations with our how to guide to Decopatch and Christmas Tree Decorations

