
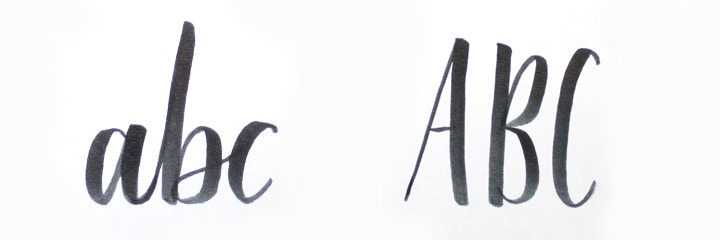
How to: Get Started with Brush Lettering
Posted by Cass Art on 1st Feb 2019
From personalised cards to beautiful Instagram-worthy artworks, there are endless applications to brush lettering! Looking at those inspiring works of calligraphy, it’s hard to know where to start. That’s why we’ve put together this little handy beginners’ guide to brush lettering – with this, you’re only a pen and a sheet of paper away from creating your first lettering masterpiece!
Here’s what you’ll need:
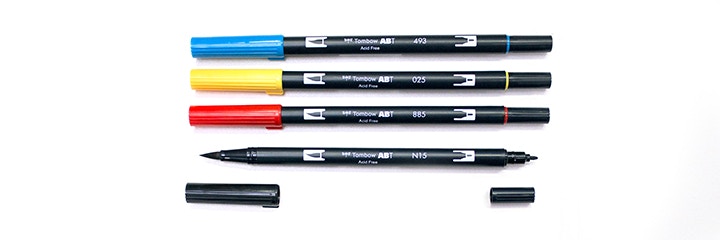
- Brush pen: there’s a variety of pens that are suitable for lettering, with a long and flexible brush tip to create those gorgeous smooth brushstrokes. Tombow have a huge range of vibrant colours, and the long brush tip allows you to create bigger letters, which you will find easier as a beginner. They also have a fine tip on the opposite end, ideal for adding finishing touches or correcting small mistakes.
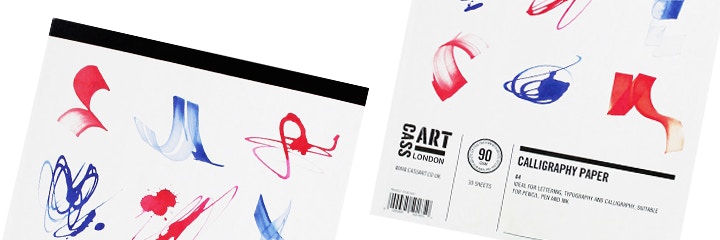
- Paper: go for a nice smooth paper – we recommend the Cass Art Calligraphy pad, which is treated specially to make both sides bleedproof. You also get 3 different shades of paper within the pad, so you can play around with more colour combinations! Marker pads will also be suitable.
Let’s get started!
HOW TO HOLD YOUR BRUSH PEN
Hold your brush pen with a firm grip, like you would with a regular pen. Don’t squeeze too hard or you won’t be able to move! Holding it closer to the brush tip will give you more control. Your brush will move around a lot, but you can start by holding the pen at a 45 degree angle as a “neutral” position.
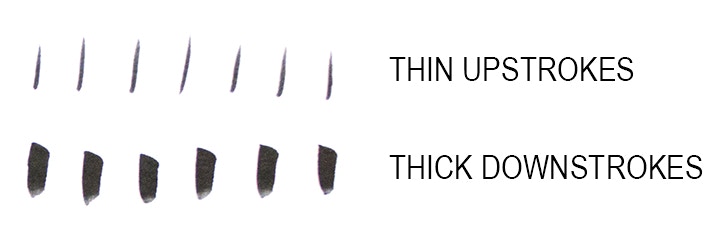
BASIC BRUSHSTROKES
What if we told you there’s only one technique behind brush lettering? It’s all about pressure! Your upstrokes will be lighter (thinner lines), while your downstrokes will need more pressure (thicker lines). Practice making little straight lines to get familiar with what line thickness corresponds to the level of pressure you apply.
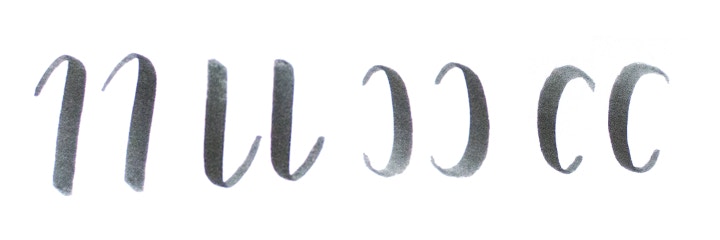
PRACTICE YOUR HOOKS
Your next step to get closer to making proper letters is practicing hooks – lines that go from thick to thin and vice versa.
ONE STEP CLOSER…
Once you’ve got your hooks on lock, move one step forward and draw full circles – this will help you practice joining your lines, which is the final basic element of brush lettering, and will transform your alphabet into stunning words! If this is too difficult, add an extra step in between and draw some semi-circles. Remember to practice from both sides, so they look like backwards “c”s.
And there you have it – everything you need to start brush lettering! Now it’s time to find your style and create your own alphabet. We suggest browsing Pinterest or Instagram to find inspiration!
Practice makes perfect, so don’t get discouraged if your first words are a bit wobbly. Just like when you learn how to write as a child, brush lettering takes lots of practice, but in time you will find yourself varying the pressure on your pen without even thinking about it.
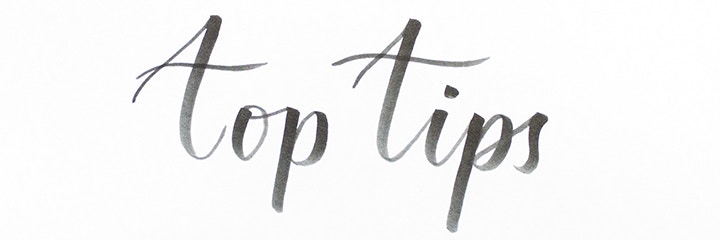
OUR TOP 5 TIPS FOR BRUSH LETTERING
- Slow and steady wins the race: don’t try to hand-letter as quickly at the same speed you write normally – calligraphy is a form of art, and as such it requires time and care. Don’t be fooled by those cool videos on Instagram, those are normally sped up! Lift your pen between each brushstroke and take your time.
- Try “rainbow lettering”, using a different coloured pen for each brushstroke. This will slow you down and allow you to think about each component of your letter individually, to help you gain more confidence in your movements.
- Experiment with materials: try different types of paper to see which one suits your style best. There’s also a multitude of brush pens you can use, with different inks and tips. You can also try using a paintbrush with ink or watercolour paint – that really opens up the possibilities with a heap of colour options, including metallics!
- Rome wasn’t built in a day, and neither was calligraphy: you will need lots of practice to achieve perfectly smooth hand-lettering. All those artists on Instagram and Youtube have been practicing for months, maybe years – don’t compare your beginner self to the experts!
- Bring your lettering to the next level with some small details like shadows, metallic highlights, or perhaps blend for an ombré effect. You can also incorporate your lettering with your drawings and illustrations!

