5 Tips For Coloured Pencil Drawing
Posted by Cass Art Staff on 20th Oct 2021
The UK Coloured Pencil Society (UKCPS) was founded in 2001, inspired by a collection of people who, despite having never met, shared a passion for the art of coloured pencil. The Society celebrates their 20th Anniversary Gala from 14th to 24th October 2021 at Bargehouse, Oxo Tower Wharf in London.
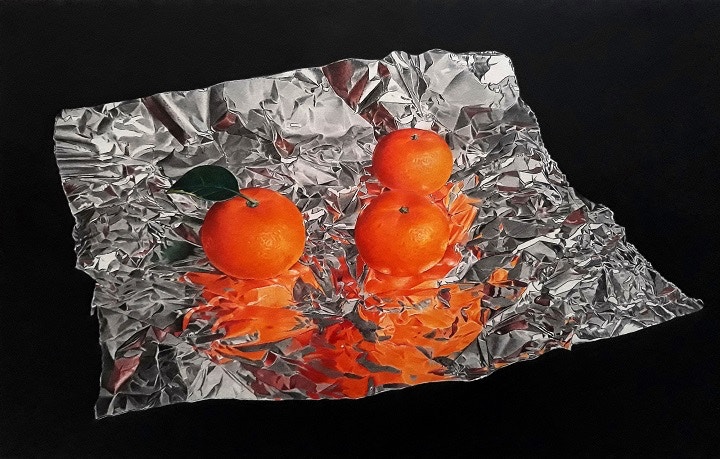
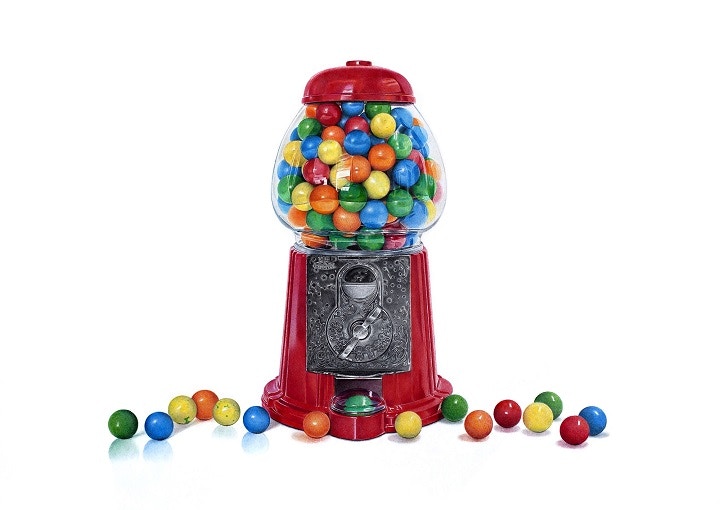
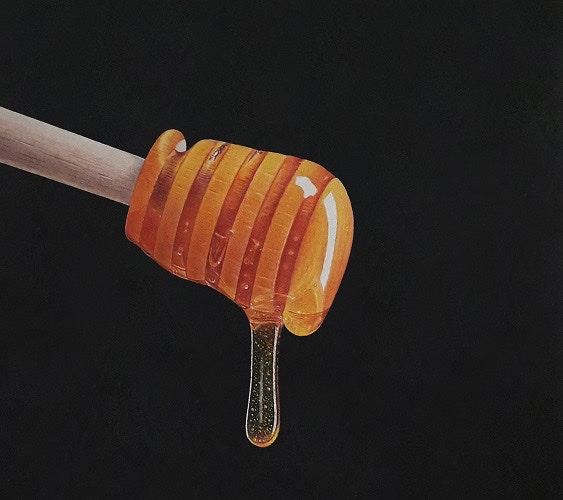
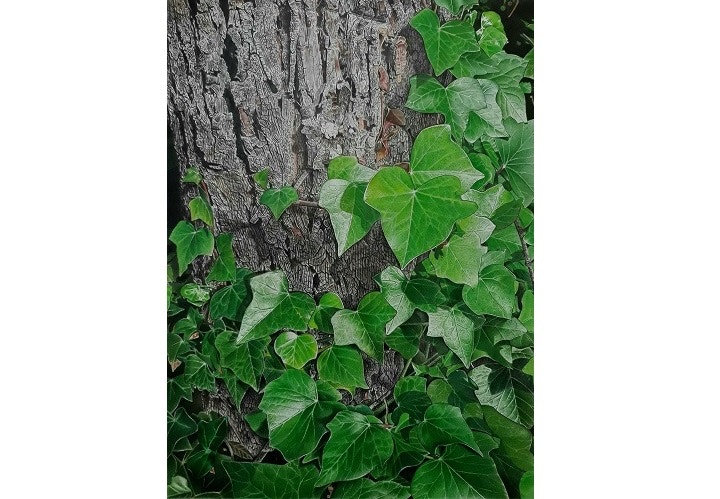
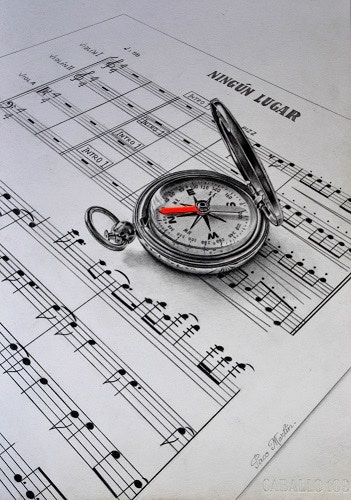
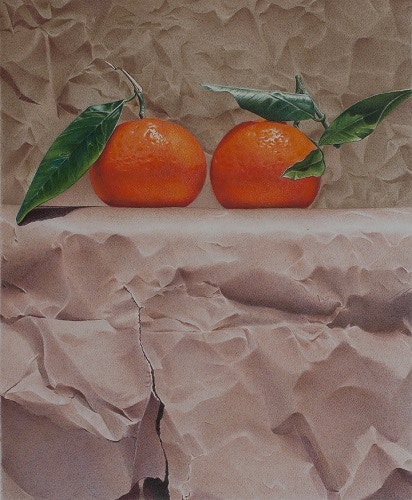
Exhibiting artist Francisco Martín Domínguez creates incredibly detailed, hyperreal drawings, that push the boundaries of the medium, capturing a variety of subjects from still lives to landscape studies. We asked Francisco to share his best kept drawing secrets with us!
TIP 1: USE HIGH QUALITY COLOUR PENCILS
In my professional opinion, it’s essential to use high quality materials. Most of them are semi-transparent, which require the application of successive layers of colour. My favourite brand of colour pencils is Derwent, especially Procolour and Lightfast. Procolour are harder and I use them for the first layers, Lightfast have an amazing rich colour. Derwent graphic pencils are very good, you can apply coats of graphite easily. I´m using them from time to time with coloured pencils, usually 2H, HB and 2B.
TIP 2: ALWAYS WORK WITH A VERY SHARP TIP
This is one of my best kept secrets. It’s much easier to get a well-defined line if the tip is sharp, it’s also crucial for blending the colours properly. I learnt this tip from the three P's of working in coloured pencil: pencil tip, patience and precision; from my friends at UKCPS. I usually turn the pencil while I'm working, that way I always make sure that the sharp part of the tip is in contact with the paper. To achieve this, you must use a brand-new pencil sharpener. I prefer the small and manual ones.
TIP 3: CHOOSE YOUR TYPE OF PAPER CAREFULLY
Remember that the surface you work on must absorb the pigment well. The paper should not be less than 150 gr. Hot-pressed paper is one of the most suitable types for pencil drawing - fine grain but not excessively, which allows the application of many layers. I use a thick paper, like this Bristol Vellum 270gsm. I recommend starting with very little pressure and increasing it gradually, until the end of the work, when you can use the maximum amount of pressure to blend the colours. I like to create a smooth surface when I am finishing a drawing – this can be achieved by blending a lighter colour upon the other ones.
TIP 4: USE A VINYL OR ELECTRIC ERASER
I use vinyl erasers as a drawing tool, to create 'blur-effects' or mix colours in a natural way. I also like electric erasers too - the Derwent eraser is fantastic - I use it to get some white spot, and not so often to erase something at such. It's important to bear in mind that this is a technique which doesn't allow the overuse of the eraser since the paper can be damaged easily if you are not extremely careful.
TIP 5: ADD THE FINISHING TOUCHES
When I conclude my artworks, I like to use Professional Winsor & Newton Fixative so that the drawing will be protected for a very long time. It can be both glossy and matte, I tend to apply a couple of coats. The result is amazing – you should try it if you haven’t already!
Feeling inspired?
Shop our coloured pencil ranges, or for more information about the UK Coloured Pencil Society and the 20th Anniversary Gala Exhibition visit www.ukcps.org.uk.

