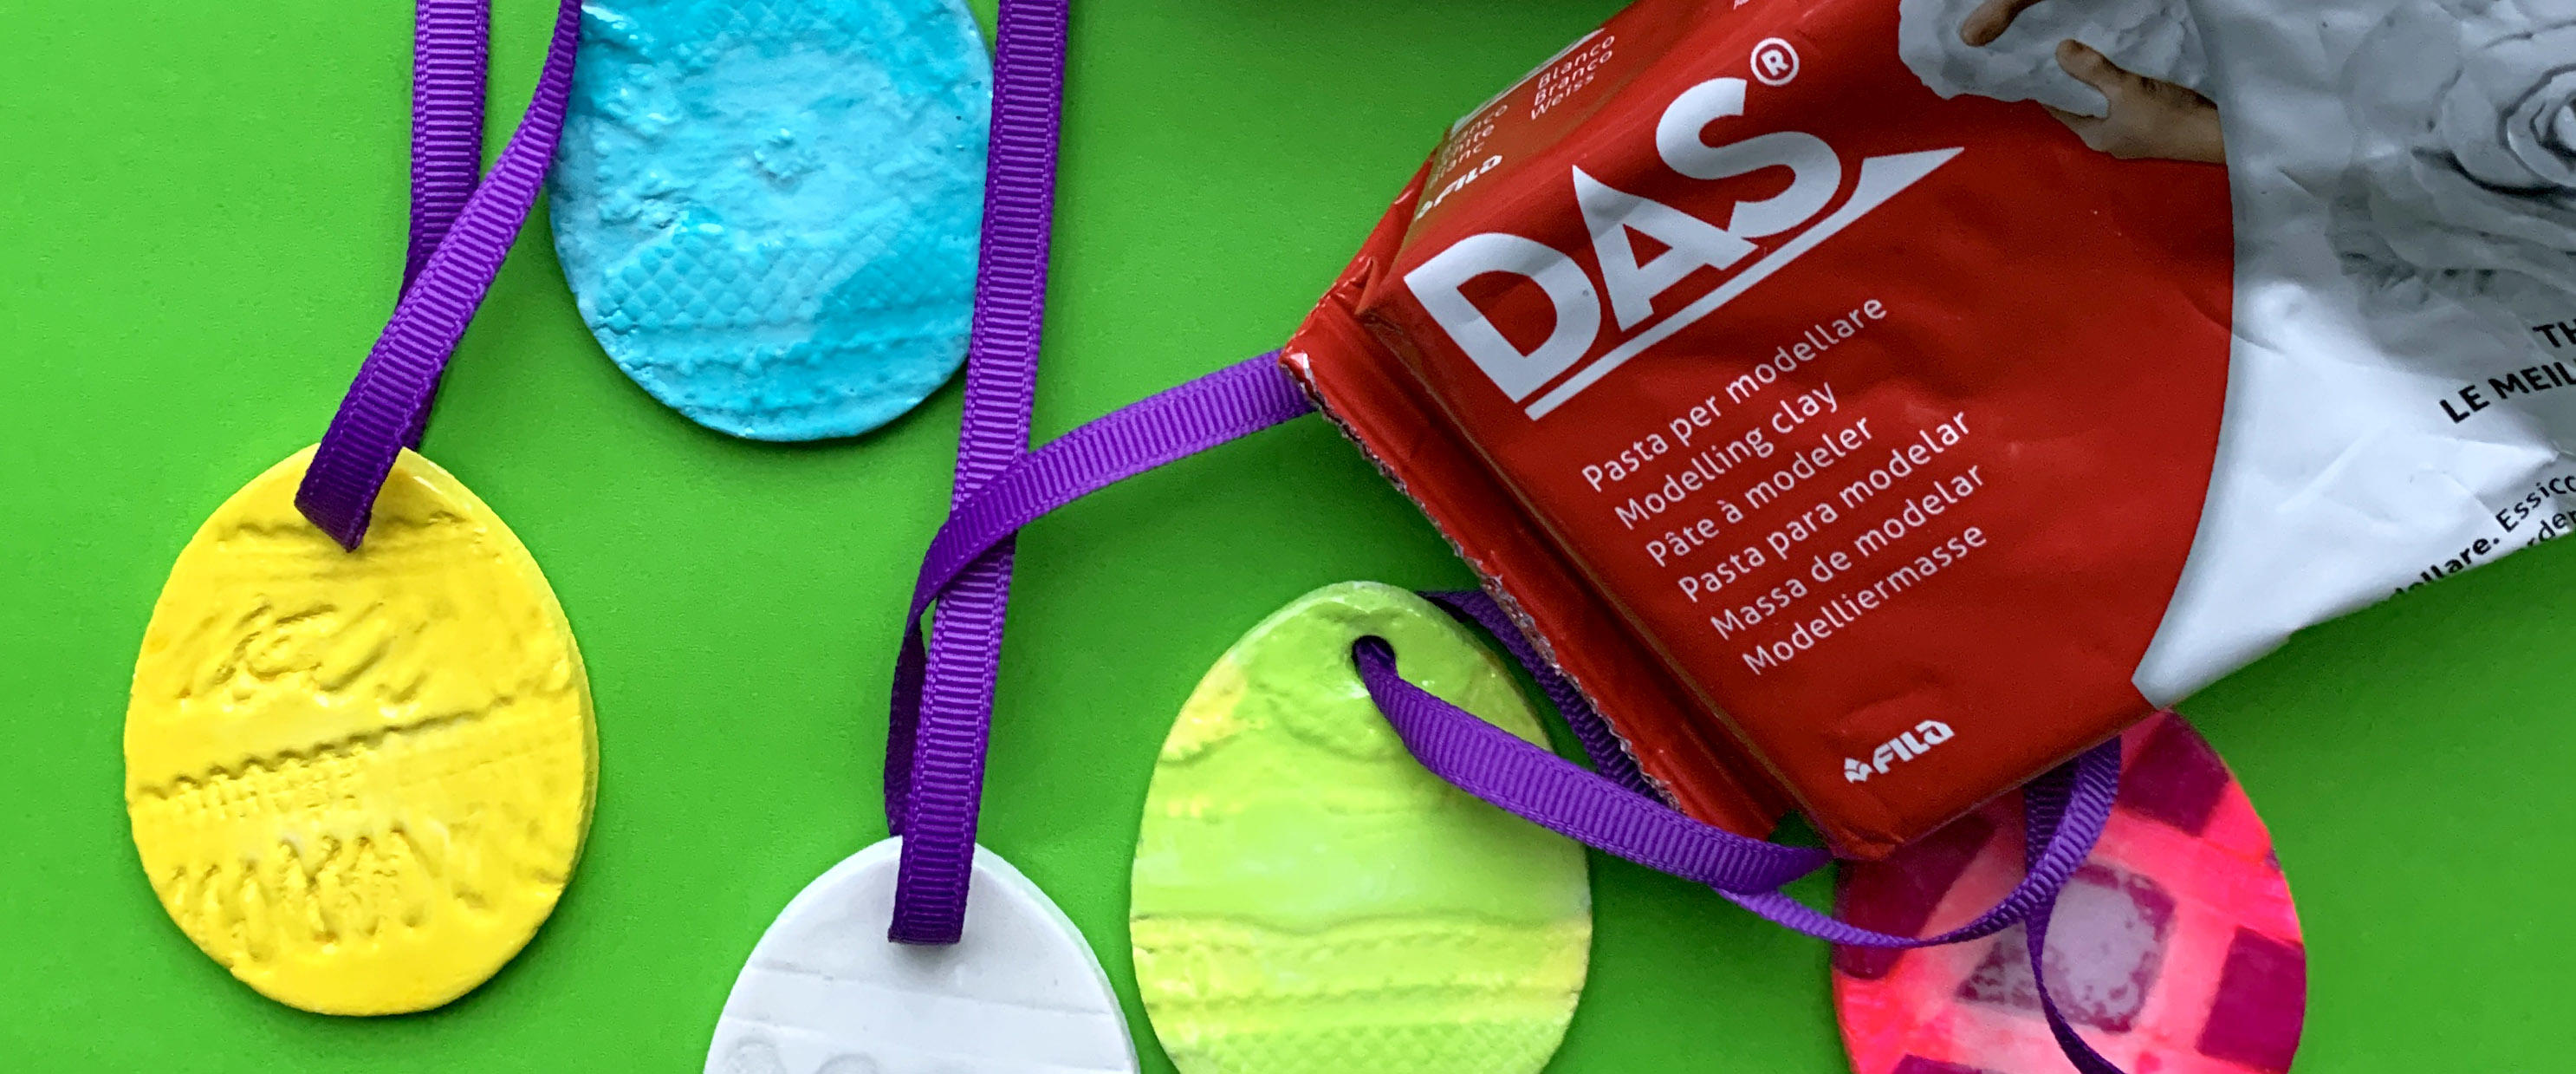
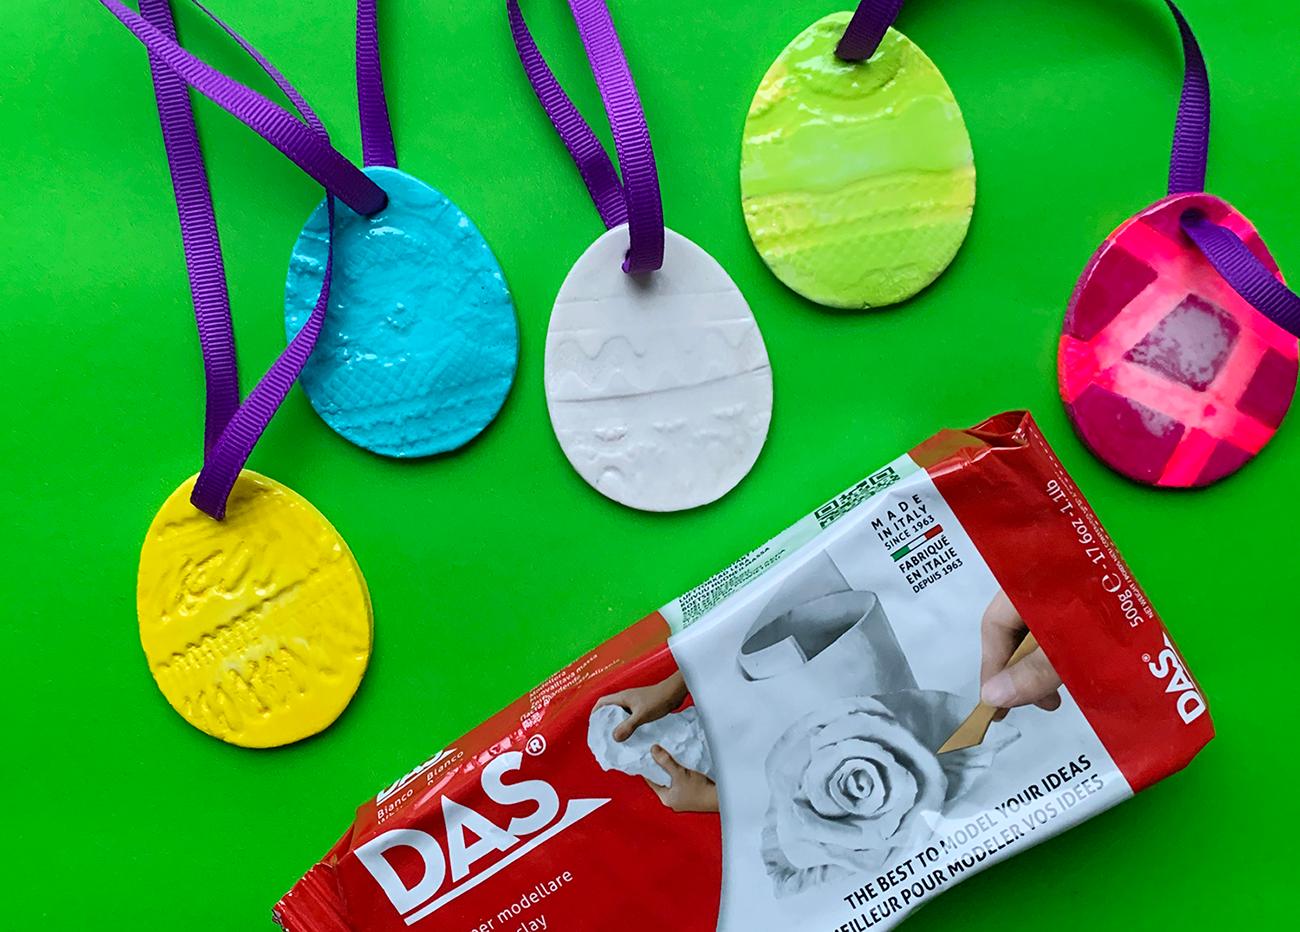
Once the easter egg hunts are over or some crafting time is calling – follow our step-by-step guide by our Head of Design Naj Ellwood to make some ceramic style easter eggs to adorn your home or gift to loved ones. DAS air-dry clay is super easy to work with and you can make lovely decorations that look like ceramic without the need for firing. I’m showing you a simple embossing technique here to create some lovely texture. However, you may like to keep your decorations plain and paint them with a marbling effect or even apply some gold leaf or metallic paint!
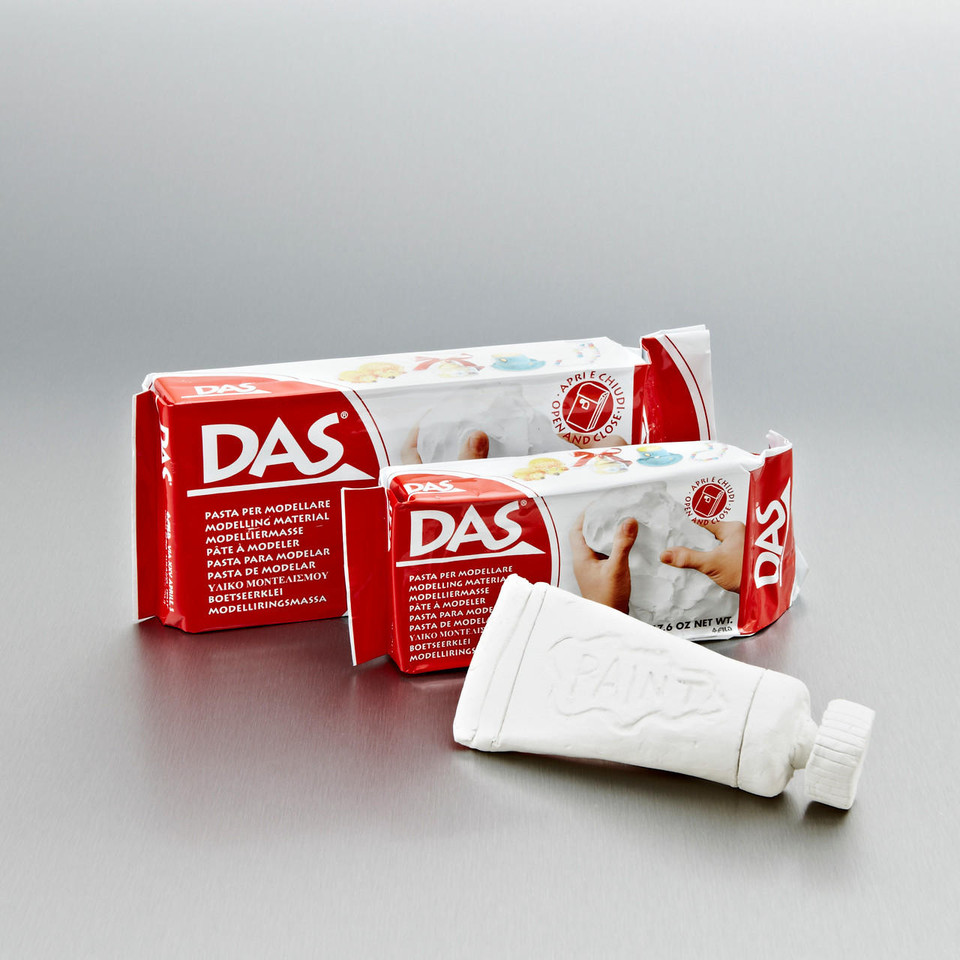
You will need the following products below along with a rolling pin, fine sanding paper, cookie cutter and grease proof paper.
Gather your materials form the list above and if you need too, make a cutter guide to cut around. You can use any kind of acrylic paint you have and any variety or textured materials you’ve got around the house. You’ll need a rolling pin or a bottle to roll out your clay nice and flat so use whatever you have.
STEP 2
Take a chuck of clay from the packet and place it on one sheet of greaseproof paper. Remember to re-seal the bag of clay really well it’s airtight otherwise it will dry out. I find it handy to seal it in a zip lock bag as well.
Place another sheet of paper on top of the clay and roll out to about the thickness of a pound coin. Try to get this as evenly spread as possible.
Take your cookie cutter (or use a sharp knife and a cardboard guide) and cut out as many shapes as you can. I’ve chosen a classic egg shape but you could make whatever you like such as bunnies or flowers.
Peel away the excess clay and repeat the above until you’ve used it all up. You’ll need to work quite fast here as the clay will start to dry out.
STEP 3
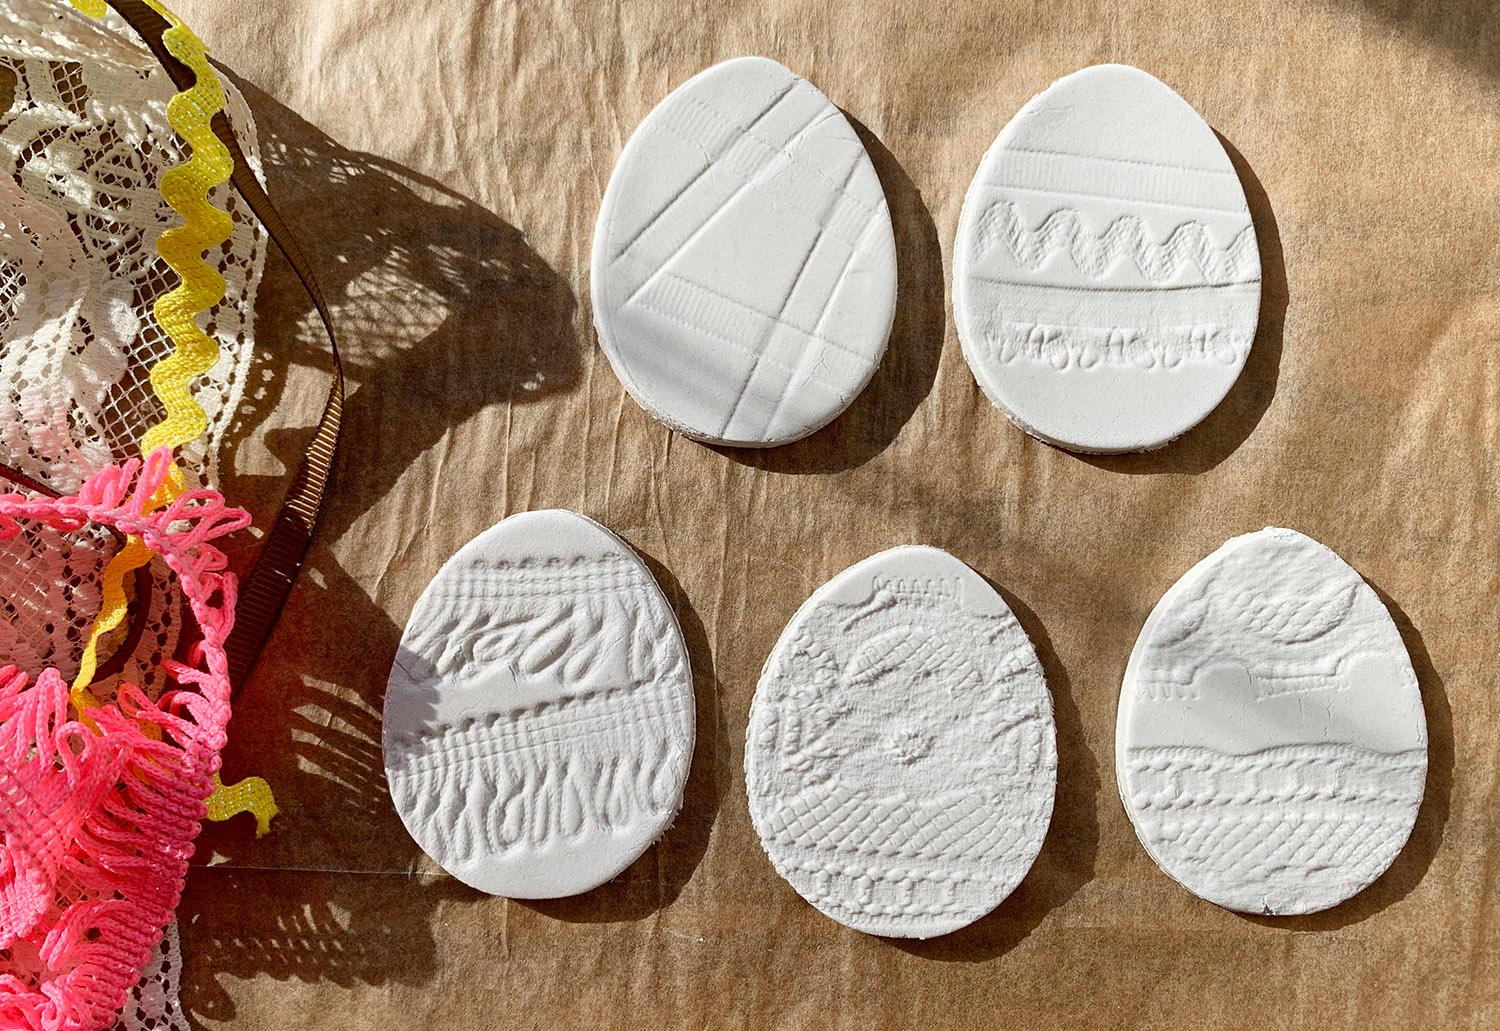
Apply your textured patterns. Gently press you fabric or lace into the shapes to create a lovely texture to your decorations or skip this step altogether if you just want to decorate with paint later.
STEP 4
Make a hole in the tops of the shapes so you can hang them later.
Leave them to dry overnight in a warm dry area
STEP 5
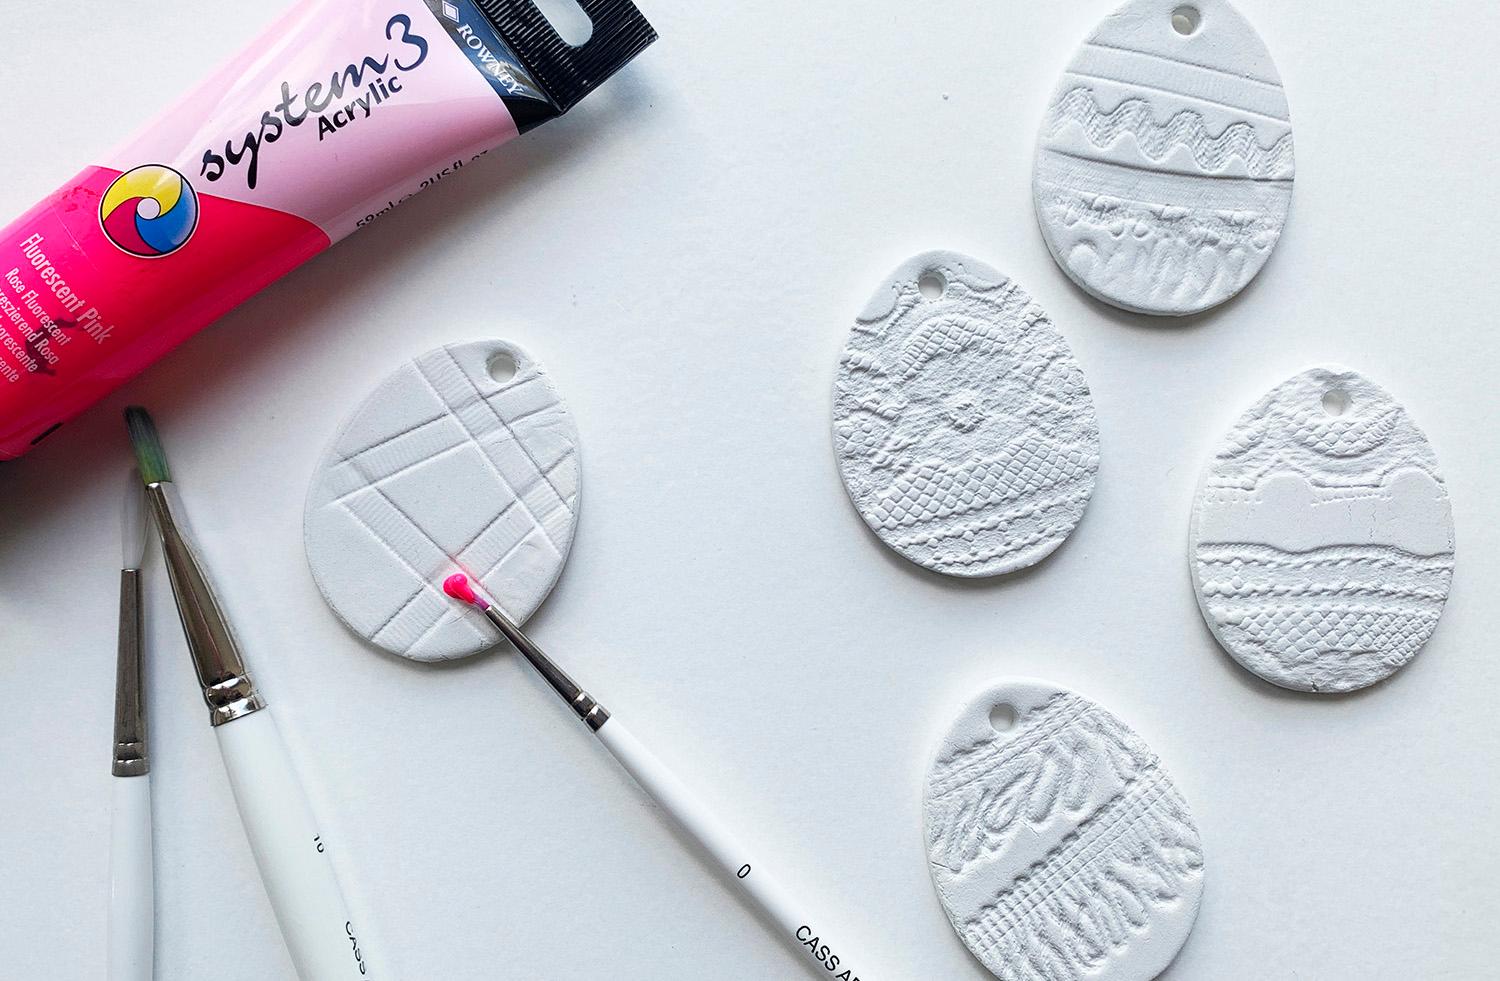
Once dry give the edges of the decorations a sand with fine sand paper. This will give them lovely smooth edges.
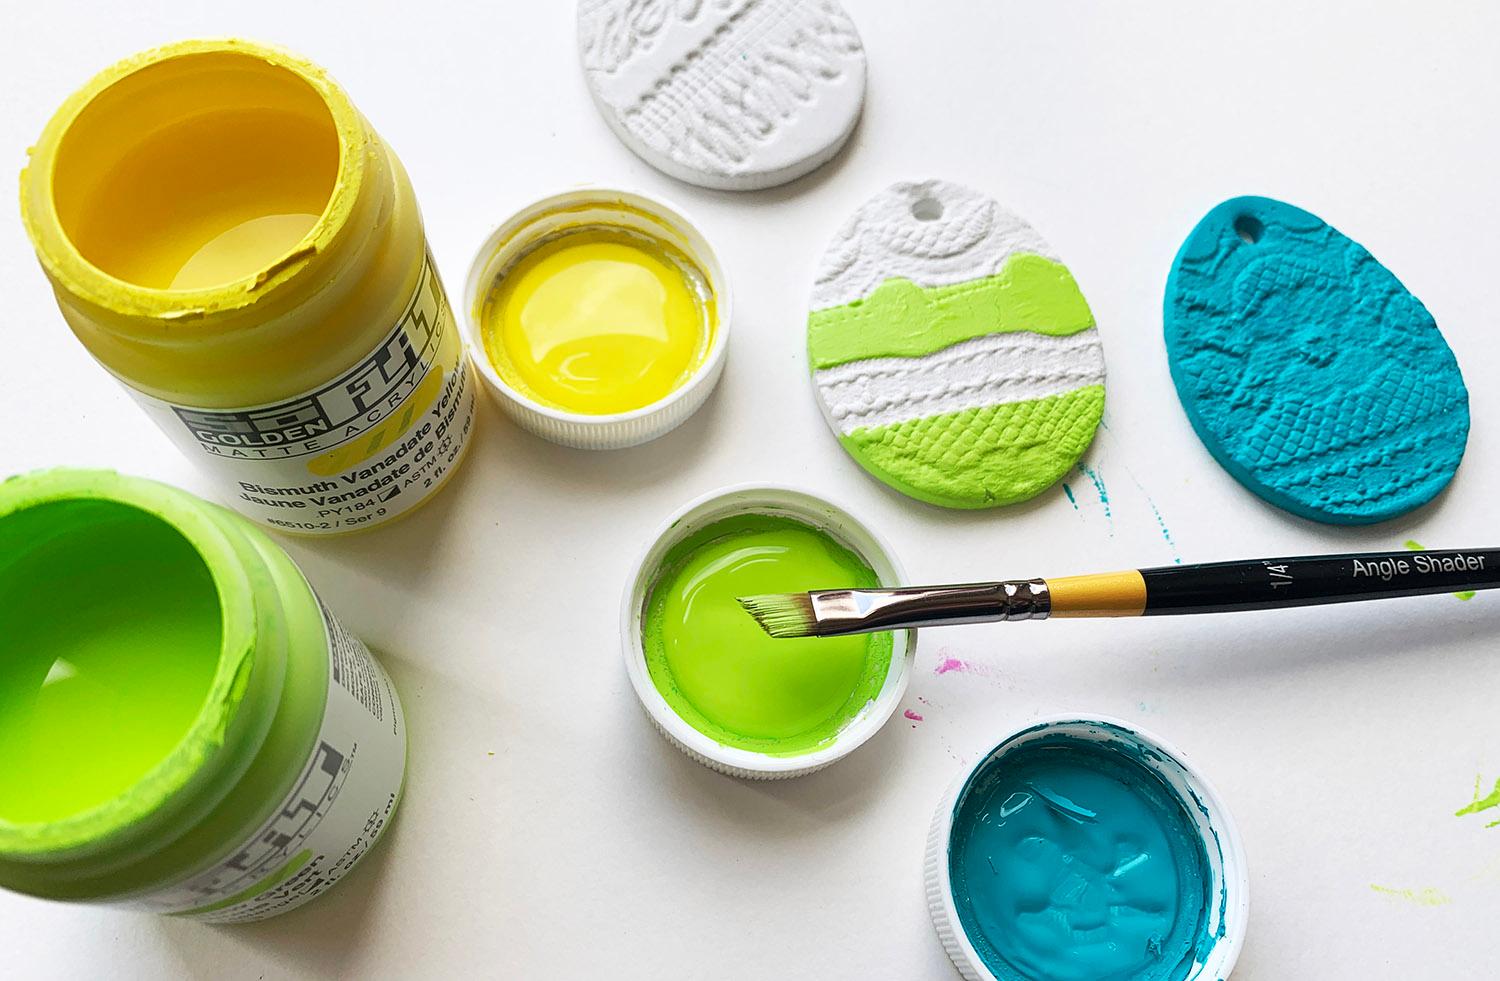
Apply your paint now. Get creative with mixing colours and shapes or cover the whole shape in one colour or paint white if you want to make them look like porcelain. Wait until they are dry and then paint the reverse if you like.
STEP 6
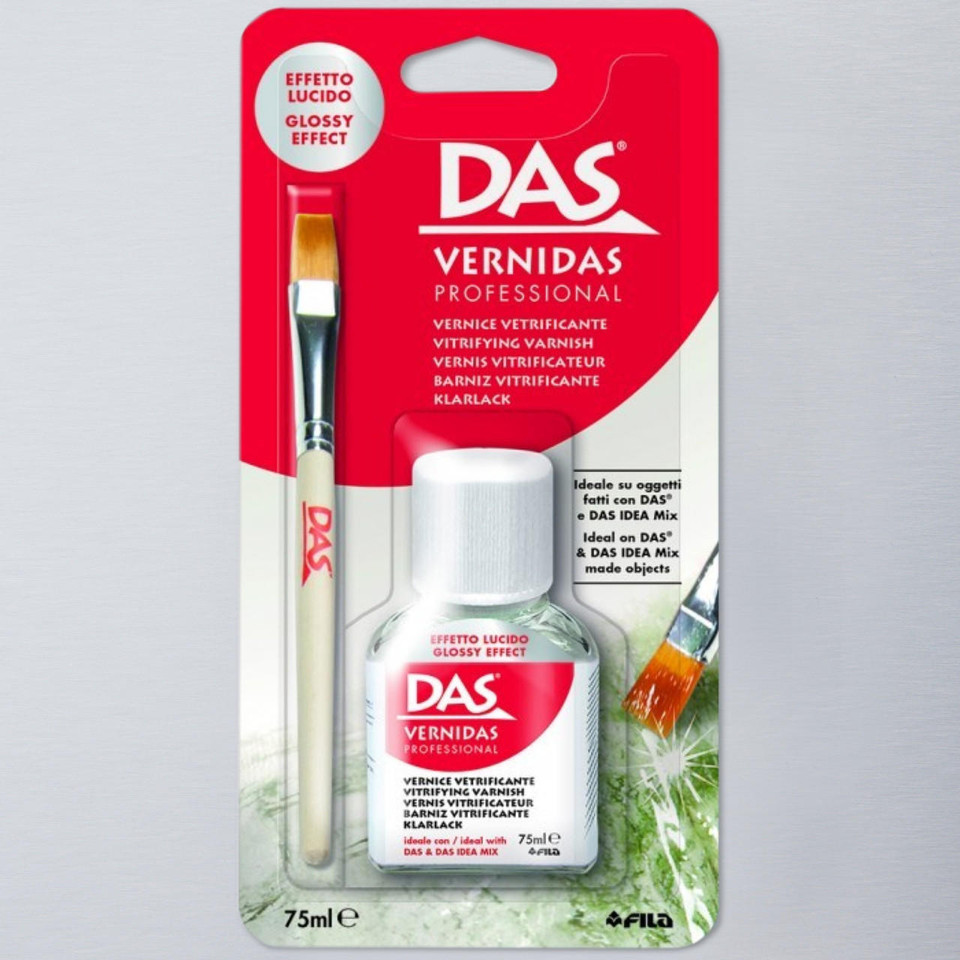
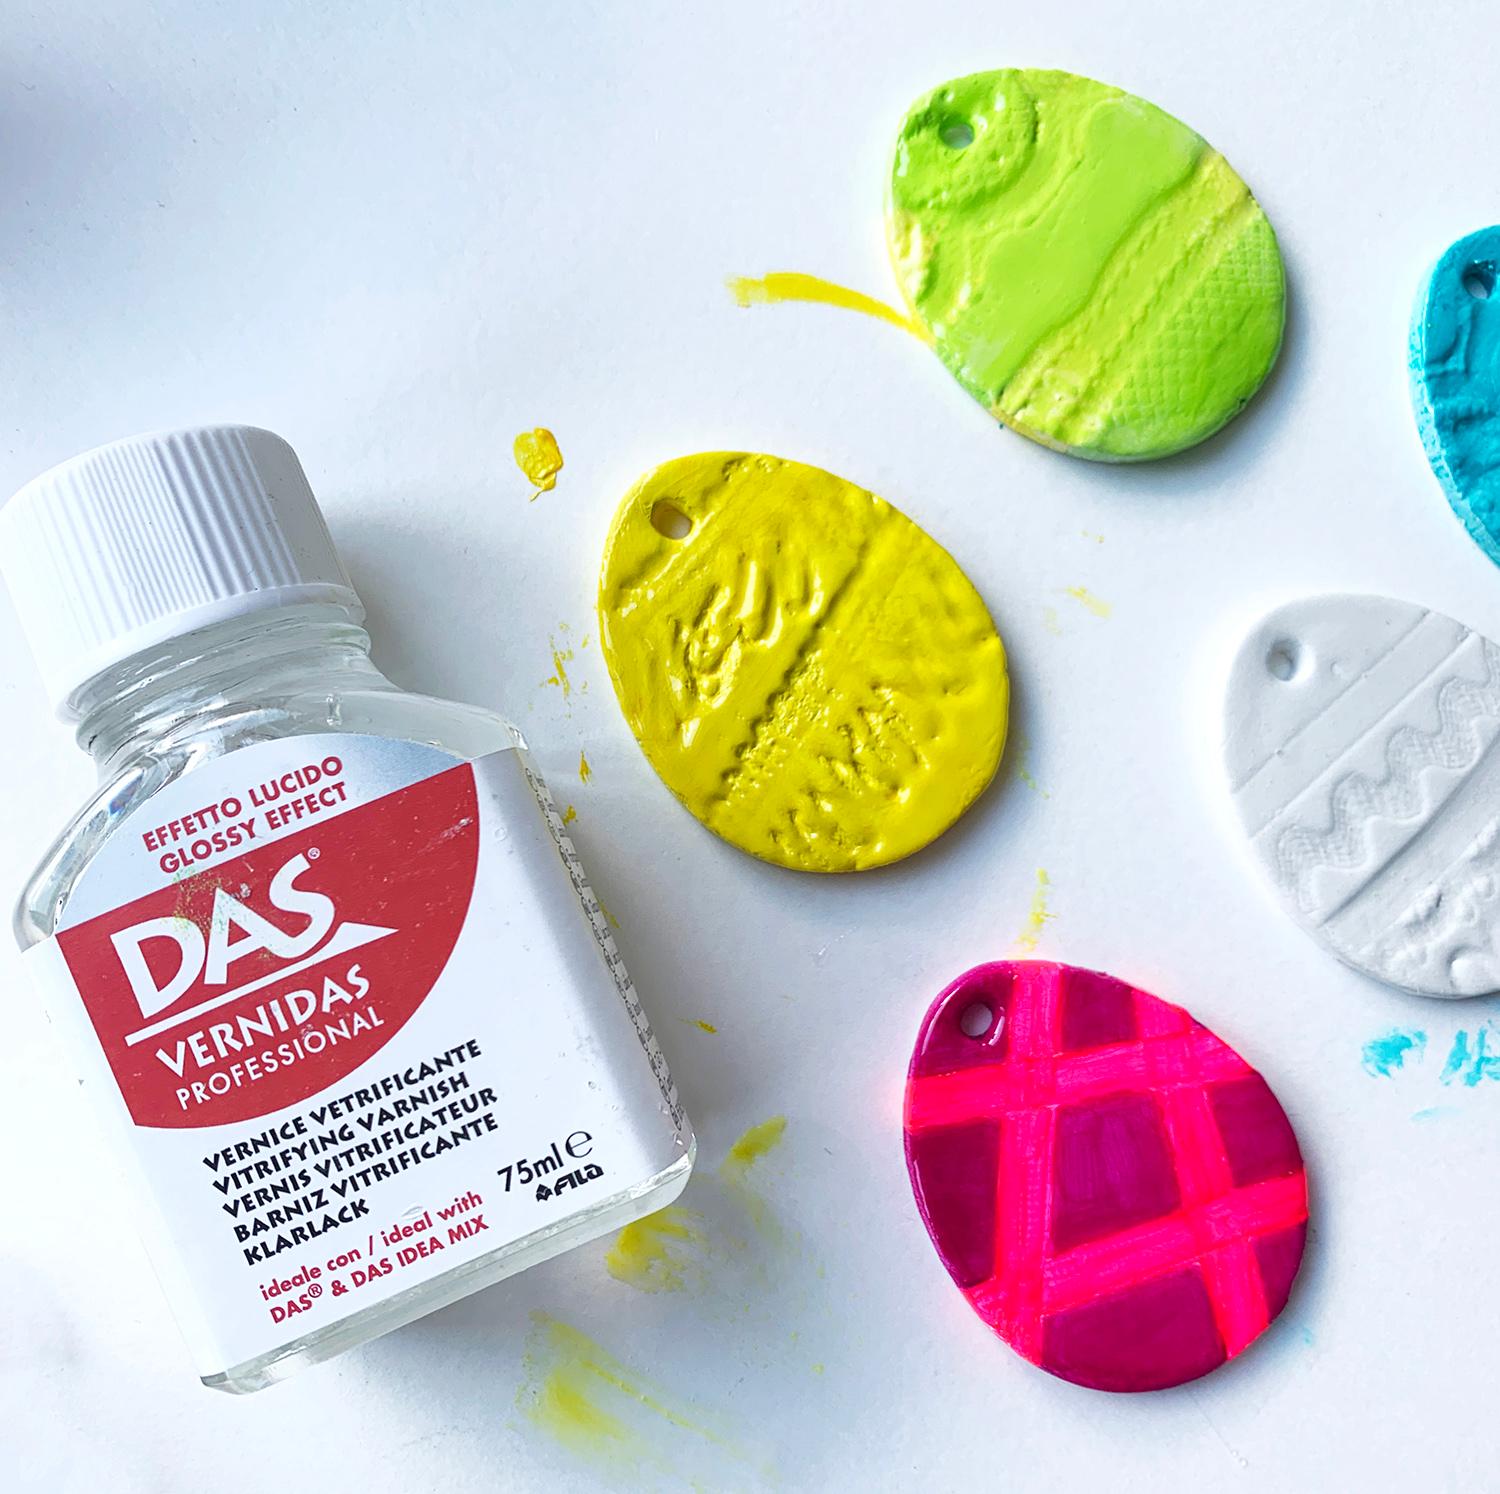
Once they are completely dry you can then leave them as they are or apply a varnish. The varnish here gives a really lovely high gloss finish but you may prefer a matte finish.
Apply the varnish carefully in thin layers so it doesn’t fill in your embossed design.
Allow to full dry overnight