When using photo reference, be mindful of your purpose. It is easy to sit down and mechanically copy something, but not necessarily productive, or fun. Are you looking to emulate a life drawing class? Are you trying to work on that next big painting or just trying to study something specific, such as hands? It doesn't matter what, but it helps to have a purpose when you sit down.
PICKING A GOOD PHOTO REFERENCE
These general tips for picking reference are aimed at figure and portrait work, but are not rules. If you want to get a certain effect, break them!
- Avoid flat, frontal light. This is a common lighting choice for magazines, as it disguises wrinkles and imperfections. Unfortunately, it means we lose information about anatomy, form, tone and colour.
- Watch out for overexposed light. If a large area of the light side of a subject is white, it means it is overexposed. This makes form and colour hard to discern, losing details.
- Avoid images with excessive airbrushing and other manipulations.
- Be careful with coloured light sources. Coloured light can be a way to get interesting effects for painting, so don't exclude it entirely.
TAKING A GOOD PHOTO REFERENCE
- Have plenty of light, ideally with a dominant source to create shadows. At home, natural light is great, and a strong lamp will do in a pinch.
- When you can, use a tripod to reduce blurring. If you have a phone and struggle with blurring, you can prop it on a surface and use a timer.
- If you have a camera, learn how to use it, even just the basics! There are often lessons available for free online, even for older cameras.
- Be mindful of your eye level. Sometimes reference shot a little too high causes noticeable foreshortening effects, such as giving a model tiny feet!
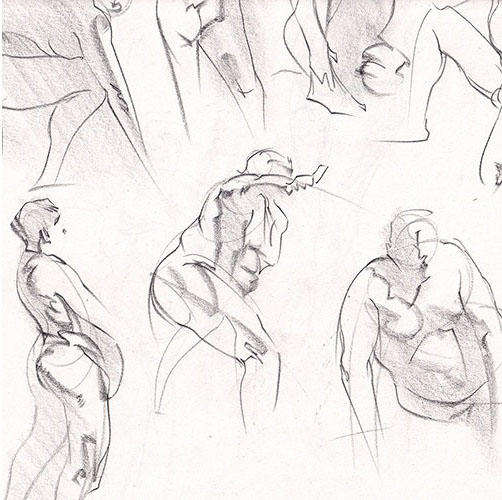
USING PHOTO REFERENCE FOR LIFE DRAWING AT HOME
- I find screens are better in terms of colour accuracy and contrast than print outs. A print out might be a sensible option when it is tricky to bring a screen into your set up, such as a painting studio.
- Don't feel you have to 'copy' the reference. Mechanically duplicating a photo is a big temptation, and this is one of the biggest issues with working from photography; the result looks copied more than 'drawn'. You can exaggerate poses, adjust shapes, experiment with your style. Draw as if you were working from life.
Normal Rockwell – 'The Gossips' Rockwell worked extensively with reference, but frequently used exaggeration for effect.
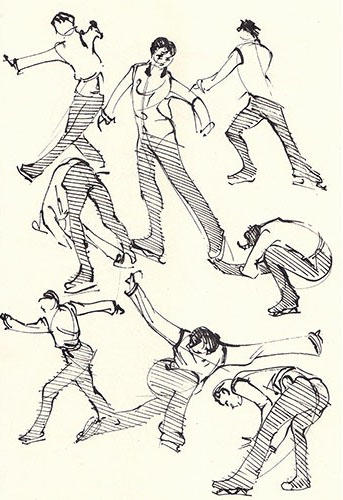
- If you are using photo packs, consider a timer. I will do a page of a set pose times as if I were in a class drawing. By doing different length poses, you practise different drawing skills – such as gesture, rhythm, simplification in short poses, or accuracy and tonal values in longer ones. For more developed projects, keep time in mind to avoid overworking your piece.
- Don't take it too seriously – there will always be more drawings. You can reset the timer and try again, that great pose isn't going anywhere. You are at home in your own space, so relax, and take the breaks you need.
OVER TO YOU: HOME LIFE DRAWING CLASS
You will need:
- Your drawing kit
- A timer – ideally a physical timer, but you can use a phone app.
- A set of photos
Decide ahead what times you want to draw for. You may want to emulate a session of short (15 mins or less), mixed or medium length (30mins -1 hour) poses. These step-by-steps are just a starting point you might want to try; there are many ways to draw figures! The reference was taken from Draw's life drawing Patreon reference pack.
GESTURE DRAWING STEP BY STEP
- Start with an overall 'action line' to indicate the pose.
- Indicate major forms, working over the whole body.
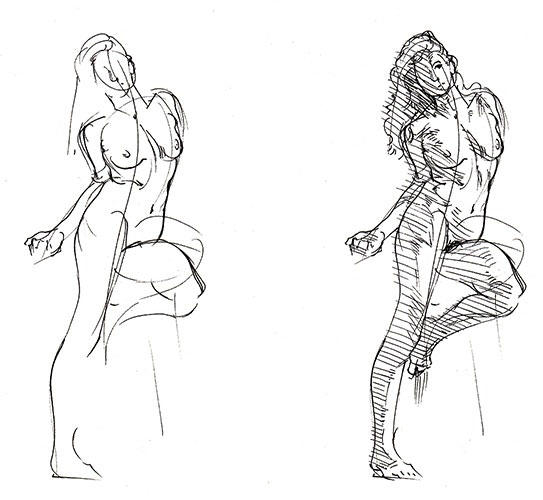
- Start to develop details; here I incorporate ideas about gesture and anatomy. Try to work from one side of the body to the other
- Keep adding detail until you run out of time – it's OK if you don't get everything, do your best!
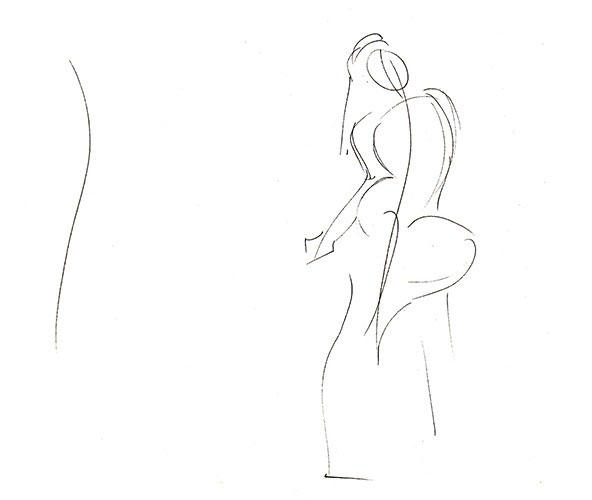
MEDIUM POSE DRAWING: STEP BY STEP
- As we have a little more time, block in large shapes and check proportion first. Look at the space the figure takes on the page and break it into measured sections.
- Work out the contour lines; think about how they overlap and intersect. Contour is not just a single unbroken outline.
Feeling Inspired?
While many books focus on just one aspect of figure drawing, this manual unites the skills of observation, expression and understanding in one coherent approach.
Beginning with the key principles of observation, Figure Drawing will help you to build a strong foundation of skills to make well-observed, proportionally accurate drawings.