
How to: Get Started with Screenprinting at Home
Posted by Cass Art on 4th Jul 2018
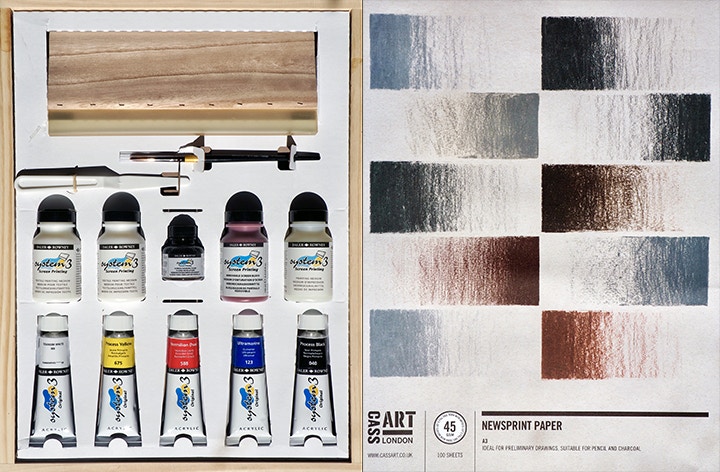
Our Cass Art Student Ambassador Joanna Lawn shares her knowledge and shows us how you don’t need a fancy art studio to make your own screen print. Here she takes us step by step on how to make your own screen print at home using a Daler Rowney System 3 Screen Printing Set – which includes everything you need to make your own prints.
Screen printing is a form of printing in which you block of a section of a silk screen (by using photo emulsion, stencils or, in our case, using drawing fluid). It is a really great method of creating quite graphic and unusual images, but can seem quite daunting to start off with if you are a beginner. When working with this form of printing, the actual printing is relatively quick, however it is all of the preparation that makes the process a slightly longer one – however it’s well worth the effort involved!
STEP 1
Firstly you need to decide what image you want to use. Print an image or have a drawing on paper which will fit within the screen area (you need to leave a margin around the image). Then you place your image under the screen (the screen should be face down against your table) and trace lightly onto the screen using a blunt soft pencil. After this remove the original drawing/image from below the screen.
STEP 2
Next, raise the screen slightly off the table (I use a roll of masking tape on each corner of the screen, but you can also use a few pieces of card) as a spacer. If you want to protect the table/surface you are working on it may be a good idea to put down some newsprint.
STEP 3
Apply the System 3 Screen Drawing Fluid with a fine brush onto the areas of the screen on which you wish to print. If you want finer wash affects you can also dilute the Screen Drawing Fluid with water. Once you’ve finished, leave the screen to dry in a warm place for an hour (or if you’re impatient like me you can use a hairdryer to speed up the process).
STEP 4
Lifting the screen slightly, pour a thin line of System 3 Removable Screen Block to the back edge of the screen mesh (but not touching the wooden frame). Pull the block across the screen using the squeegee at a 45° angle, making sure it covers the image. Scrape excess Removable Screen Block using a plastic spatula or spoon and return in to the pot. Again, leave the screen to dry in a warm place for an hour (or use a hairdryer to speed it up).
STEP 5
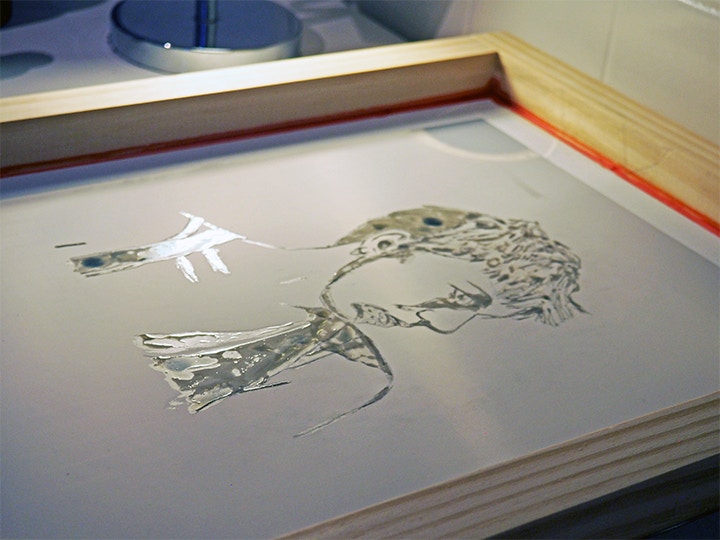
Next we remove the Screen Drawing Fluid to leave your image in positive on the screen. Make sure your Removable Screen Block and Screen Drawing Fluid are both definitely dry before you do this. To remove it wash the screen with a cold-water spray on both sides (I do this just using a shower head in the bath) and dry the screen (you can use old hand towel for this). Where possible avoid getting the wooden frame/wooden squeegee handle wet and dry them as soon after as you can after washing, as otherwise they may weaken/rot.
STEP 6
Almost ready to start printing! First though we need to protect the edges of you screen/frame. Using low tack tape (ideally cheap packing tape, but masking tape works too) around the edges of you screen mesh, to prevent colour leakage while your printing.
STEP 7
To print onto paper, mix one-part System 3 Printing Medium and one-part System 3 acrylic paint with a plastic spatula or spoon (but also ways the Printing Medium first) in a cup/jar/tin. You can mix any acrylic colours, to get the exact shade you want (but it may dry one shade lighter). The solution may end up being a little thick, so you can add a little water to thin in out, which is important if you have a particularly fine or detailed image (you want the solution to run smoothly but not be runny).
To print onto fabrics, mix one-part System 3 Textile Medium and one-part System 3 acrylic paint as before. Make sure your fabric is clean and ironed smooth before printing onto it.
STEP 8
Place the screen directly onto paper/fabric you want to print onto. Spread a line of the prepared printing ink along the top edge of the screen. Hold the screen in place with one hand (or get someone to help with this part) and pull the squeegee at a 45° angle with an even pressure, making sure it covers the image. If it looks like it has missed any areas, pull the squeegee back across the screen.
You can move the screen directly onto another piece of textile/fabric after this, or if you have finished with this colour, scrape the ink off your squeegee and screen and keep it in an air tight container (if it’ll only be a week or two until you use it, just put cling film over the top of your cup/jar). Remove the tape from your screen and wash off the ink using warm water and an old sponge (again I do it in a bath tub with a shower head).

STEP 9
The screen can be reused any number of times after this using the same process. Once you’ve finished with this image you can remove the Screen Block with Speedball Diazo Speed Clean 16oz, (the Screen Block is easier to remove when it’s been more recently applied).
Thanks so much Joanna for your brilliant step-by-step - it really shows anyone can try their hand to screenprint!
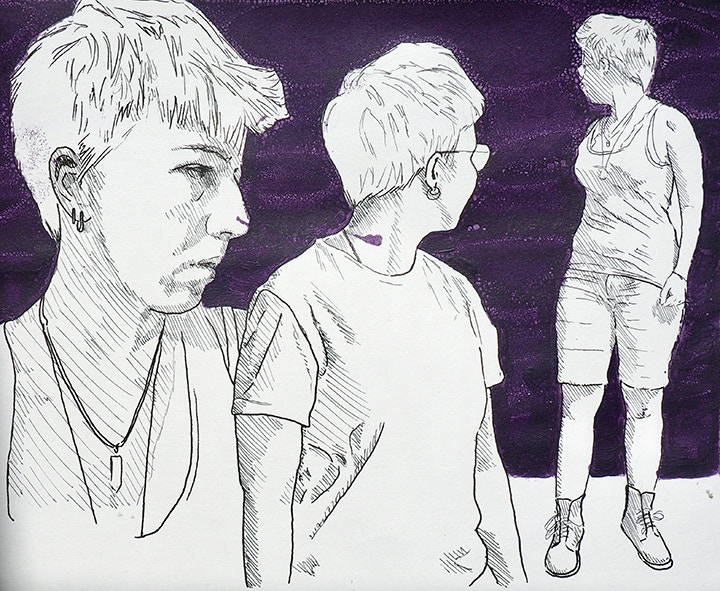
Follow Joanna on Instagram and see some more of her fantastic work like the print below!
Feeling Inspired?
You can create your own screenprint at home with the Daler Rowney System 3 Screen Printing Set - it has all you need to get you started on your printing journey. You can pick it up in-store or online
Got more questions? Pop into your local Cass Art and have a chat with any of our Staff Artists who will be happy to offer their expert advice and tips.
Don't forget to hashtag #cassart on social media to show us your creations.

