
Step by Step Watercolour Guide to Painting Trees
Posted by Cass Art on 12th Apr 2021
Our Head of Design Naj Ellwood has brought us this wonderful watercolour step by step guide to painting trees. Enjoy!
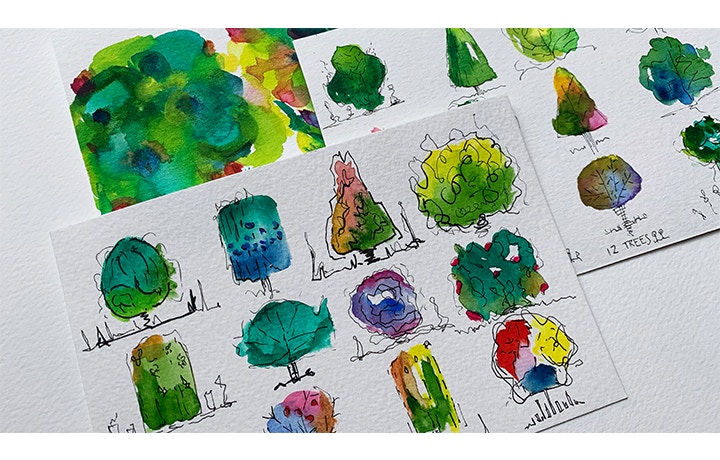
Over the last year my friend and I have been creating little postcards and sending them to each other, sometimes with a note attached, sometimes just to share our creations. We both love the tactile nature of actual post this simple creative exchange is definitely a practice I’m going to continue. Usually my creative endeavours are 3D and involve food or fabric so it’s been a challenge to keep it 2D and quite small too. We’d take turns in setting a theme and see how differently each of us interpreted it. Today I’d like to share a quick ‘how-to’ from the week we did ‘what’s in your garden’
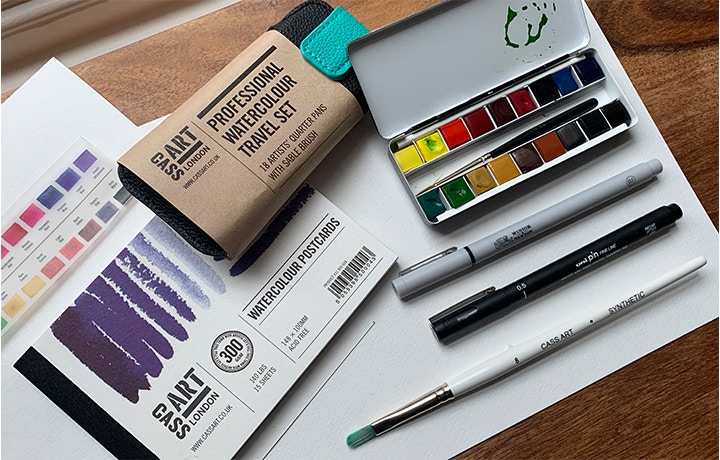
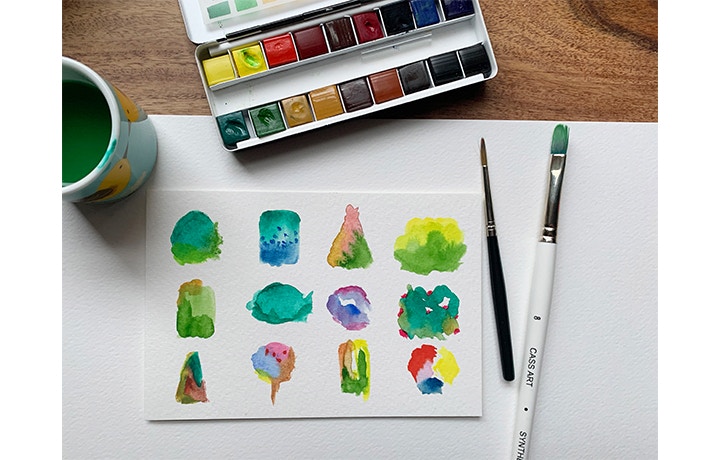
You’ll need: watercolour paints(I used Cass Art travel 1/4 pan set), postcard sized watercolour paper (get a pad here: or cut down yourself) brush (I used the one in my travel set - handy!) and a Cass Art filbert brush one as I like the control, waterproof pigment liner in 2 widths (I used Winsor and newton 0.1 and uni pin in 0.5)
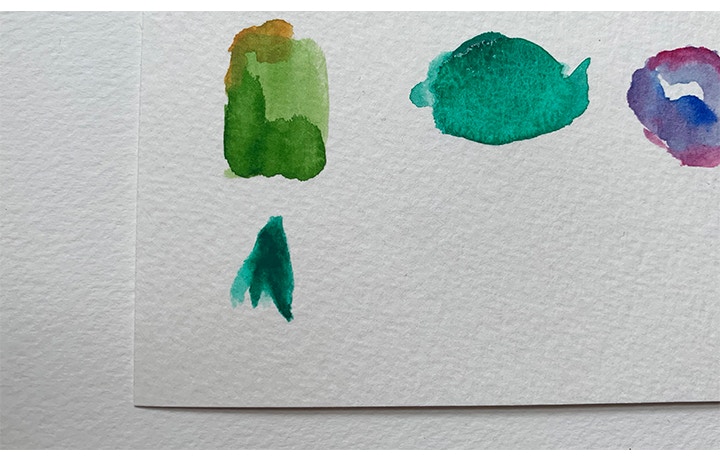
Head into your garden, Park or google to have a look at a variety of trees. Take some photos to paint from or enjoy some plein air painting :) or just make them up! I’m going to focus on a few different basic shapes here including oval, square and triangle.
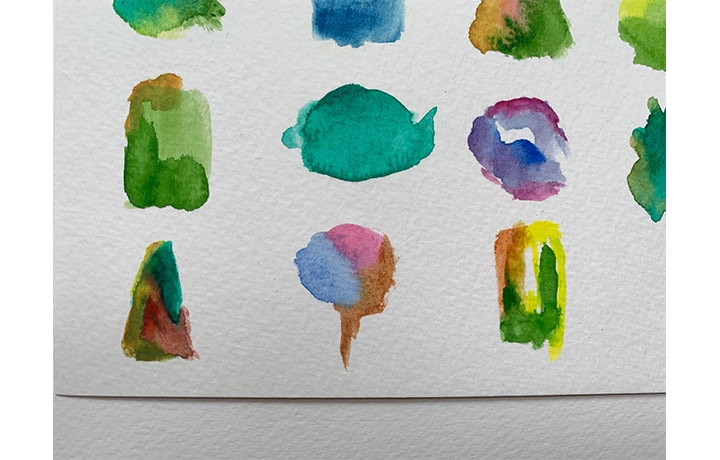
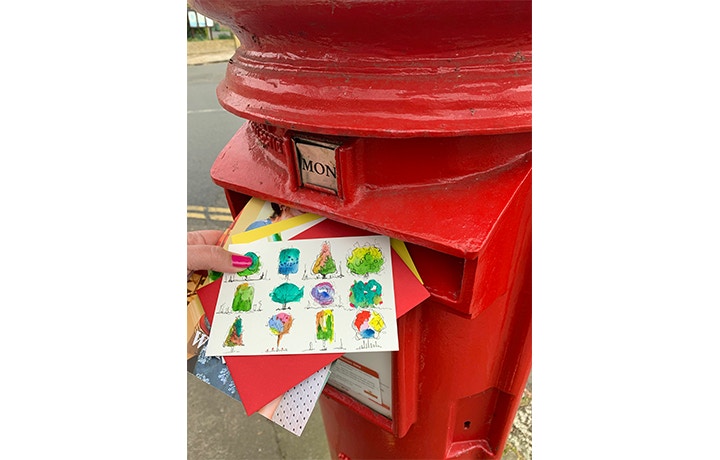
Decide if you want to paint one large of a few little trees, in a group or on their own. I did 12 separate ones so I could try out a few colours and shapes.
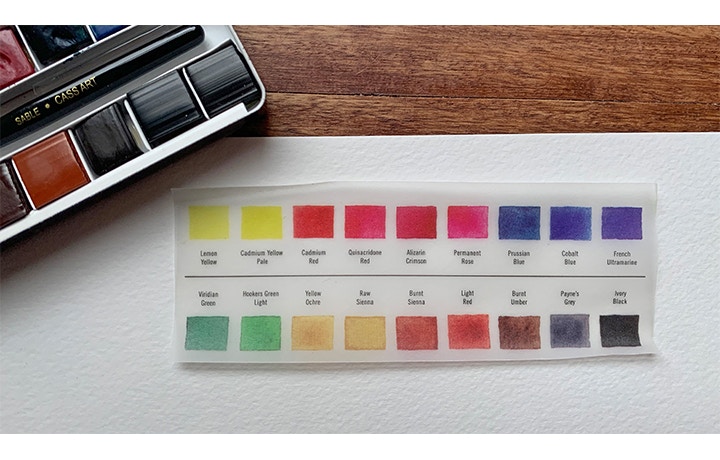
Have a look at the colours you have and keep in mind what ones you’d like to use - you may need to spend a moment swatching your paints if you’ve not used them before. Watercolours obviously change with the amount of water mixed with them so sometimes you may use the same colour in different intensities to create depth. Think outside the box here, you don’t need to keep to traditional green all the time - whimsical trees are wonderful!
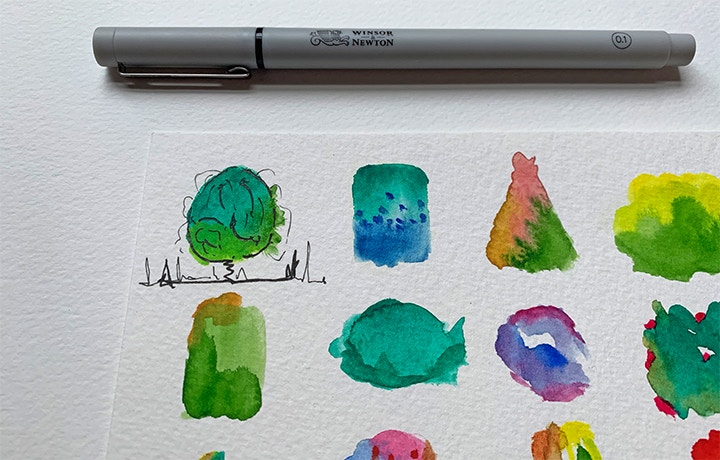
We’re going to be creating the trees in two steps - colour and then line detail.
There’s many ways to paint with watercolour (Which you can see on Cass tv here), I used both wet on wet and wet on dry. As I was keeping it small I didn’t need to tape my paper down, if you are planning on wetting the full surface you’ll need to look at taping down to avoid distorting the paper.
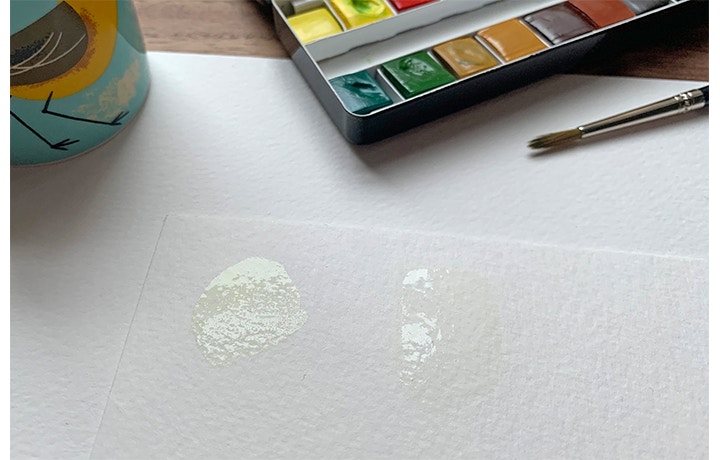
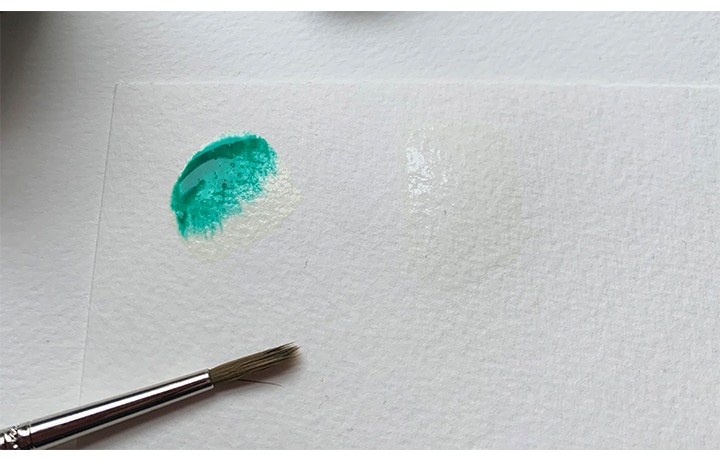
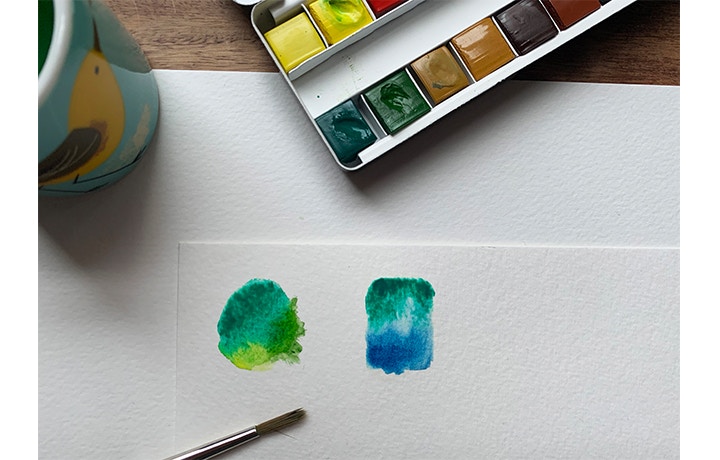
Wet on wet:
I like to lightly tint the water so you can see where you have put it and works as a nice guide. I’ve used a very light yellow here as I know it will either disappear underneath or work with my colours. The pigment (paint) will stay nicely in the area you mark out in water first. ‘Mask’ out the general shape of the tree in water, you can play around with quantity but I tend to not make it too much like a puddle …. Add in your paint and watch it spread…. Add in more colours…. You can always come back later and add more
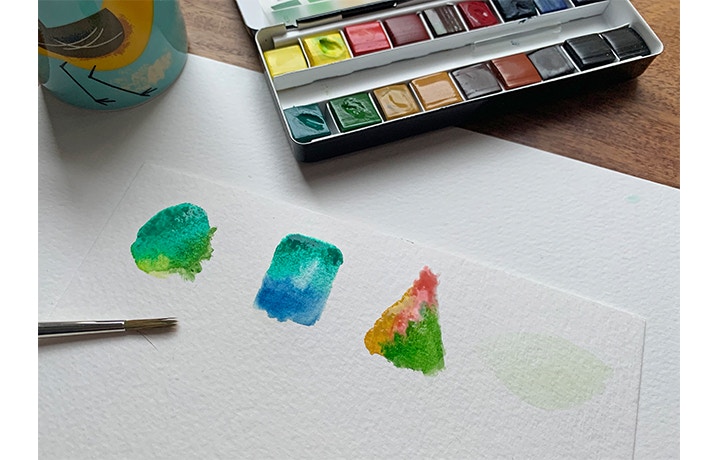
Wet on dry:
Apply colour in the general shape of your tree, keeping some white in amongst the colours will add depth. Start with a brush that isn’t too wet, you can always add more water if you need. Mix in colours as you go, adding in things like fruit, blossom, flowers or even birds.
Once you’ve got you’ve got your colour part done and it’s dried you’re ready to add in the detail lines.
Use your pigment liner or a pencil if you don’t have one to add in the details like trunks and extra flora and fauna. Try different challenges here like using one line only. Mix up the thickness of your lines and go over lines to add interest
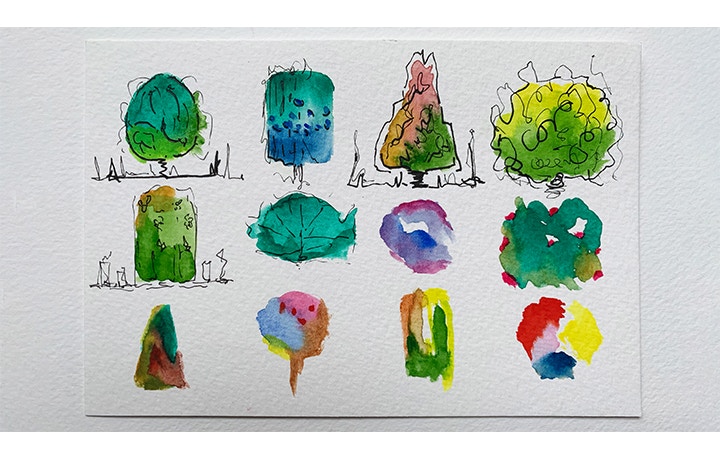
All done! Send to a friend or enjoy them yourself!
Feeling Inspired?
Shop online for everything you'll need to get you started with your next project. Don't forget to hashtag #cassart on social media to show us your creations.

