
Watercolour Faces in Six Colours & Seven Easy Steps
Posted by Cass Art Student Ambassador on 20th Jul 2021
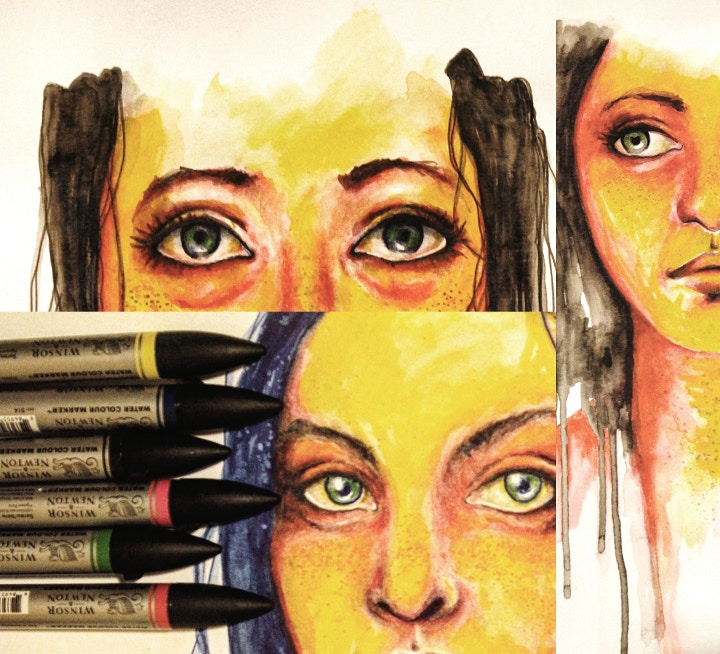
We set Goldsmiths Fine Art student, Taijasi Mishra, loose with a set of Winsor & Newton Watercolour Markers, and asked her to experiment, review and create some incredible artwork. She's done that and much more, and has offered to show us how she creates her beautifully illustrative portrait paintings. Have a read and give it a go yourself... water at the ready!
WHAT YOU'LL NEED:
- Six Winsor & Newton Watercolour Markers (I used Sepia, Sap Green, Cadmium Red Hue, Permanent Rose, Phthalo Blue (Red Shade) and Cadmium Yellow Hue)
- Watercolour paper or sketchpad
- Selection of soft brushes
- Small bowl of water
- Kitchen towel or a rough cloth
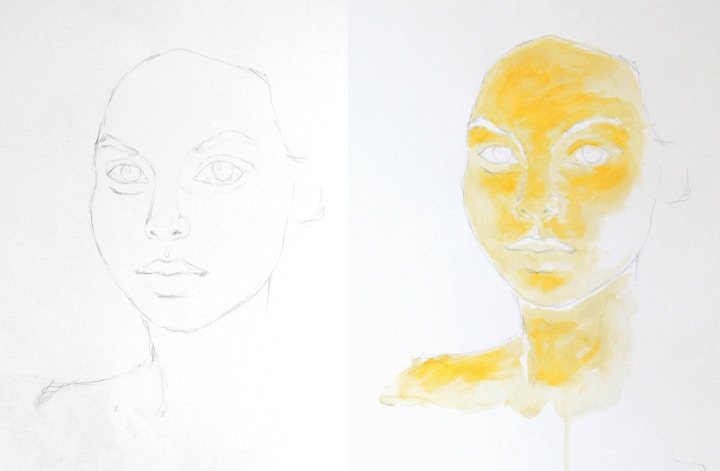
Step one: Lightly sketch out your portrait in pencil. If you aren't confident with drawing, or just want a chance to experiment with watercolour markers, you can always trace the basic image from a photograph or magazine.
Step two: Use a warm, light coloured pen to mark out the highlighted areas of your figure's face. If you're working from your imagination, this will ordinarily be the forehead, nose, chin, cheek bones and the front of the neck. Subtly blend and spread the colour with your brush and a small amount of water.
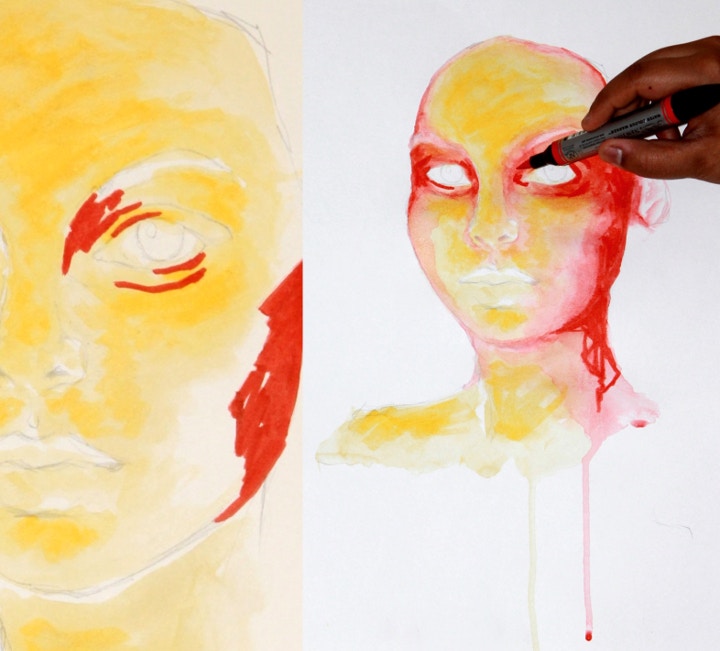
Step three: Select a second warm flesh tone in a darker shade, and set down the colour onto the shadowed areas of your portrait. A darker tone around the sides of the neck and face, the underside of the chin, and the corners of the eyes will add depth and begin to map out the structure of the face. With a warm mid-tone marker, bridge the gap between the darkest and lightest shades. Blend theses colours in the same way as your lighter layer, remembering to remove excess water from the brush between uses. Allow to dry, and continue to add touches of your dark and light shades until the face takes on a three-dimensional appearance.
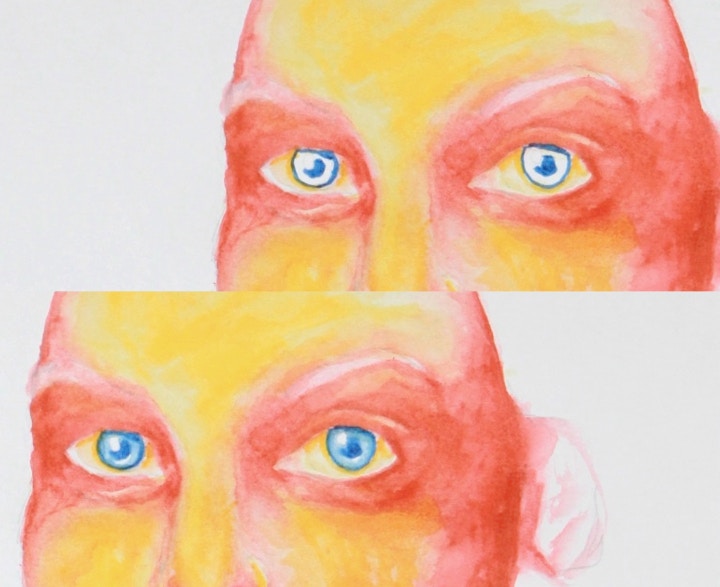
Step four: Carefully draw out the eyes in a bright, contrasting shade. Choosing a cold colour for your figure's irises will force them to stand out against the warm background palette, making the eyes pop from the image. Make the most of your double-sided pen- the thinner tip is ideal for this kind of delicate detail. A small spot for the pupil, and a ring drawn around the iris, should provide enough colour to cover the remainder of the eye when spread with your brush. Leave a white glint in each eye for a realistic, glassy quality.
Step five: With your deepest warm tone, darken and refine facial features such the eyebrows, eyelids, nose, and corner of the lips. Keep dark details small and subtle using the thin tip of your marker and a fine brush.
Extra tip: Use dark shades carefully, as they can be hard to blend and remove later. Alternatively, try combining multiple layers of mid-toned colours to create a deep, shadowed effect.
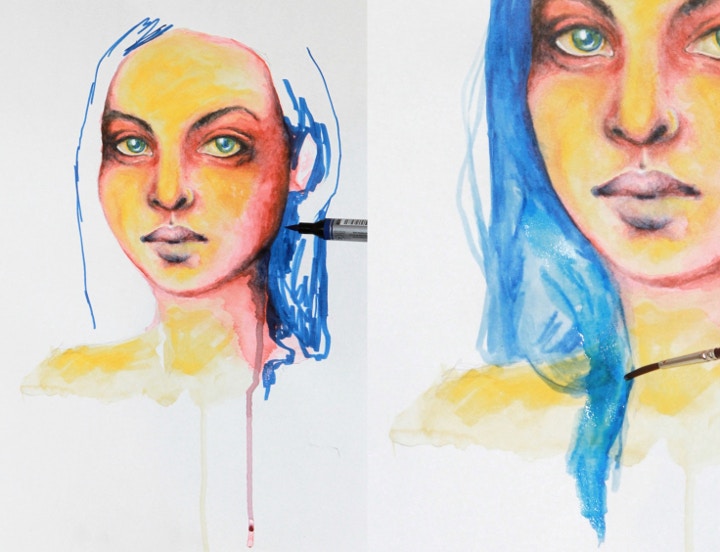
Step six: Use the thicker nib of a bright, cold-toned marker to roughly draw out the hair, and spread the colour with water and a mid-sized round brush. You can afford to be messier here to reflect the irregular texture of hair- just be careful not to let excess colour drip onto the face.
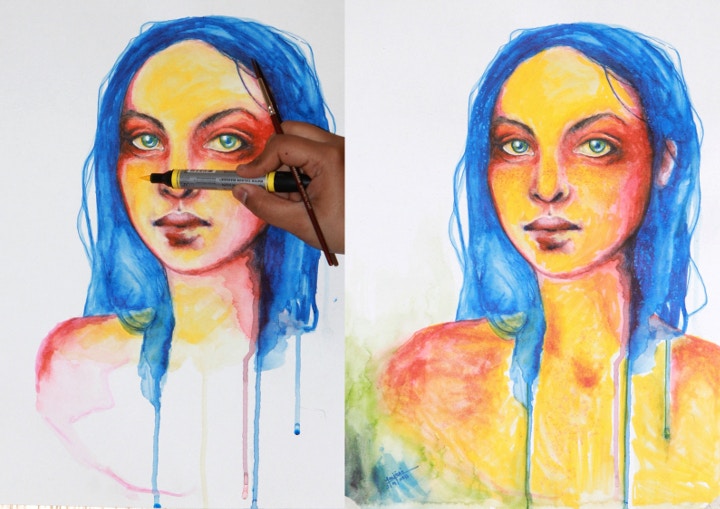
Step seven: Once your under-layers are completely dry, go back to refine and improve detail around the facial features, adding further highlights and lowlights to accentuate the three-dimensional effect, and more of your warm mid-toned shade to cover areas where the lightest and darkest skin tones have not blended well. Introduce some darker streaks to the hair by layering your bright cold colour, and use the thin tip of your marker to add a few loose strands.
Extra Tip: To create freckles, wipe your marker tip onto a non-absorbent surface and mix with a little water. Load up your brush and shake first into a kitchen towel to remove excess, repeat this over your figure's face to see tiny flecks of diluted colour appear. Use paper to cover any areas you do not want colour to fall onto.
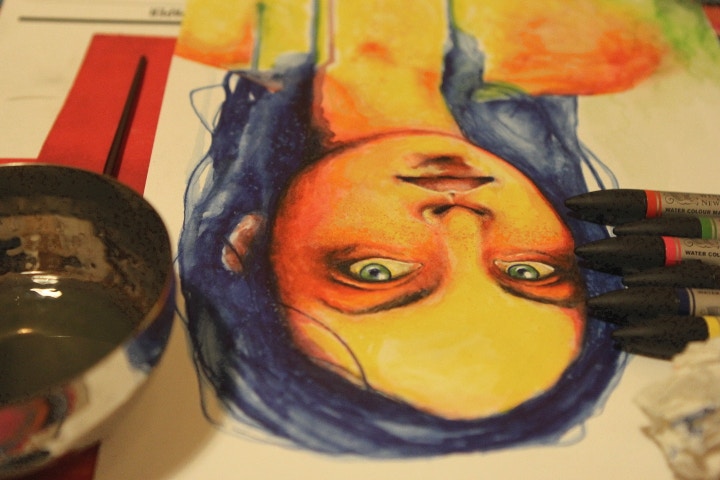
Winsor & Newton Watercolour Marker Review
The versatility of these markers is a great asset; it's brilliant to be able to use them both as traditional watercolours with a brush and water, and as marker pens in their own right. The primary colours; blue, red and yellow; were really easy to blend, and though I had more trouble with the brown, pink and green shades these were perfect for outlines, and blended well when mixed with water before being applied to the page. The markers are highly-pigmented and easy to use on a range o of surface sizes, due to their small and large double-ended tips. I'd definitely recommend these to people who like to paint while on the go, or who generally want to explore a new way of working with watercolour. They're also great for portrait painting!
Feeling Inspired?
Have a look at more of Taijasi's work or follow her on Instagram.
Shop for Winsor & Newton Watercolour Markers and more watercolour products online at Cass Art.

