PAINT YOUR FAVOURITE COCKTAIL WITH ARCHES PAPER & WATERCOLOUR PAINT
Our Head of Design and Staff Artist Naj Ellwood brings us this wonder step guide on how to paint your favourite cocktail to get us in the Spring mood. Over to you Naj. Cheers!
I recently re-painted my kitchen cabinets as a bit of a tart up rather than replacing the whole units – would highly recommend this to all you budding DIYers with a spare weekend! Once it was done I wanted some new artwork to brighten up the white and grey, something not too serious and could be changed out easily for a quick creative update.
I’m really loving exploring watercolour at the moment, it’s relatively new for me and I’m a definite convert! It’s so quick, you can create a simple, effective and personal piece of art in a short amount of time – last minute gifts all sorted. It adds an instant splash of colour (literally!), you can build the layers of colour creating new ones as you go and even create your own pigments from around the house and garden – more on that next time.
With the warmer weather and garden get-togethers back on the agenda I saw it fitting to create some quick and easy cocktail artworks. They would work at any size and any drink, so choose your favourite tipple and put some colour down and create. A favourite in my house is the classic Negroni – just like watercolour artworks they are quick and easy to make too! Getting into the spirit of the season, I set myself up outside
STEP 1 - GATHER YOUR MATERIALS
STEP 2 - SWATCH YOUR WATERCOLOURS
As this was the first time I used these paints, I wanted to swatch the colours so I knew what I was working with. I suggest this step each time you have new colours. The Maimeri Blu palette is lovely! The colours are really bright and intense, perfect for building and mixing colours easily.
The sets come with a handy Arches paper sample with is perfect to swatch your colours and keep in the box as a helpful reference.
STEP 3 - DRAW OUT A BASIC SHAPE OF YOUR COCKTAIL GLASS
My glass is a really simple shape and if you like you could skip this step and paint it directly in.
I’m using Arches Watercolour Paper – they come in a variety of finishes – smooth and rough but I chose the more textured option as I love the look it gives.
The paper is made from 100% cotton as is a dream to paint on.
STEP 4 - START ADDING COLOUR
For these pieces I wanted to explore using larger brushes than I usually do. So I mainly used the 3/4” wash brush from the Princeton Aqua Elite set. Break up the overall colour of your drink into 3 shades or colours.
My drink is a lovely orange-red with lighter parts throughout created by the ice. Choose your mid-range drink colour and start to fill in the glass area in stages. I’ve used a wet on dry technique here using a good amount of water on the brush to encourage a good coverage here.
Try to create blank areas in and around your main colour, using the paper towel to blot out excess water and colour if you need.
STEP 5 - BUILD YOUR COLOUR
Continue to build your colours up using the other darker and lighter colours – I used dark red and yellow. Allow them to mix in and around each other, leaving some white areas as highlights.
Fill in the glass areas with a very light grey, focussing more on the edges to help create the rounded shape of the glass. Don’t forget your garnish too!
STEP 6 - ADD IN SOME DEFINITION
Grab a fine liner, pencil or marker and add as much or as little line detail as you like – experiment with different stroke lengths and pen widths. Add in things like outlines for ice cubes and more definition for the glass.
STEP 7 - ADD IN SOME BACKGROUND COLOUR
For me I wanted more colour and the turquoise was just the perfect partner for the blood orange coloured drink.
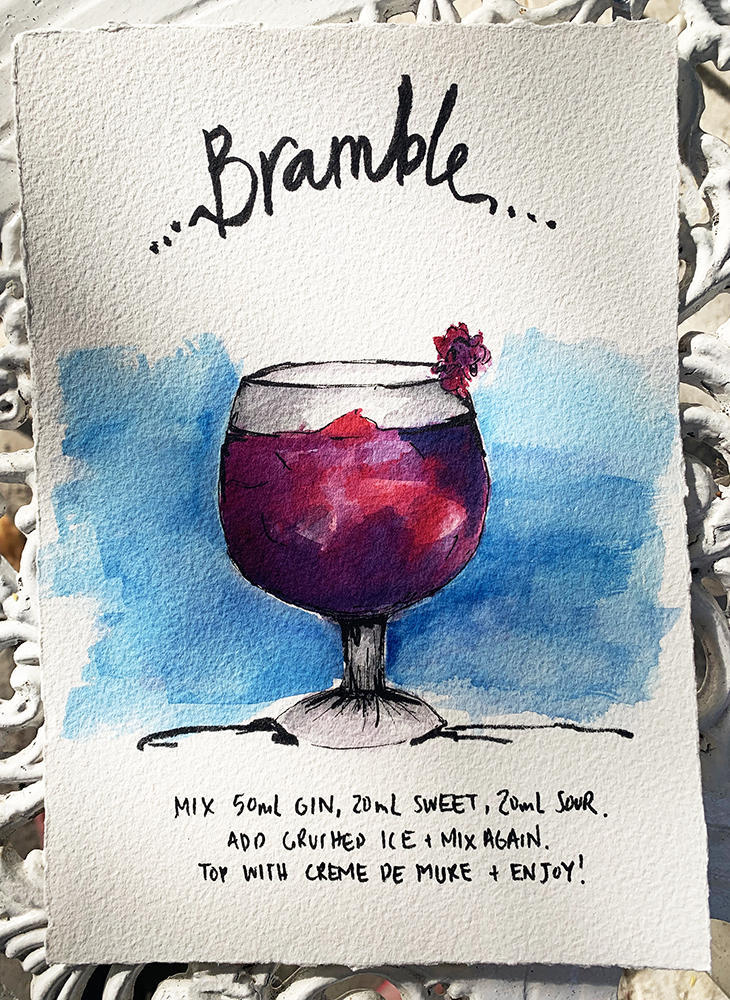
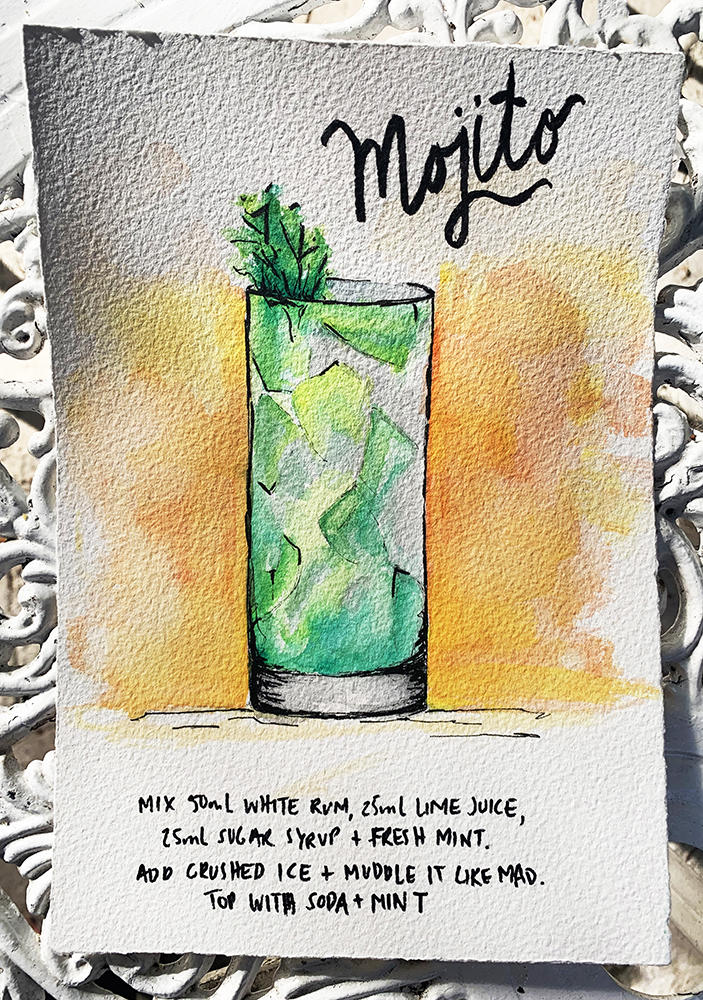
STEP 8 - NAME THE RECIPE
With a brush marker or similar freehand the drink name and basic mixing instructions – not that we’d forget these :) The tombow markers are perfect for this as they double up as a regular tip as well but use what you have and double up on lines.
I also added some more definition to the artwork with the thicker marker but again choose what suits you!