Chiara Celini is an artist and freelance illustrator from Edinburgh, UK. She graduated from Edinburgh College in 2019 with a degree in Illustration and Visual Communications.
Aside from her passion for ‘visual storytelling, design, color, and pattern,’ her work also focuses on important modern issues such as mental health.
She makes her art accessible worldwide to those interested in viewing or purchasing, as well as collaborating with her art through various forms.
Chiara was kind enough to give us an insight into her creative practice with this wonderful step by step guide to find your creative style.
Over to you Chiara!
Building in layers, practice, patience, and good quality materials. The following tips and tricks have been gathered over time by finding mediums that work well for me and suit my style.
Before we get started, it’s important to note that whatever materials you use, that allowing them to do their thing is normally when the magic happens. Let’s get started…
STEP 1 - GATHER FIRST
The first step takes place in your mind. I truly believe that when we create from a place of love and enjoyment, it will show in the final piece. Sources of inspiration are all around us these days.
I like to gather inspiration from my own reference pictures, memories, stories and books - then begin building an image from these various sources. Almost like a mood board. If you struggle to choose colour palettes, this is a great way to whittle it down.
STEP 2
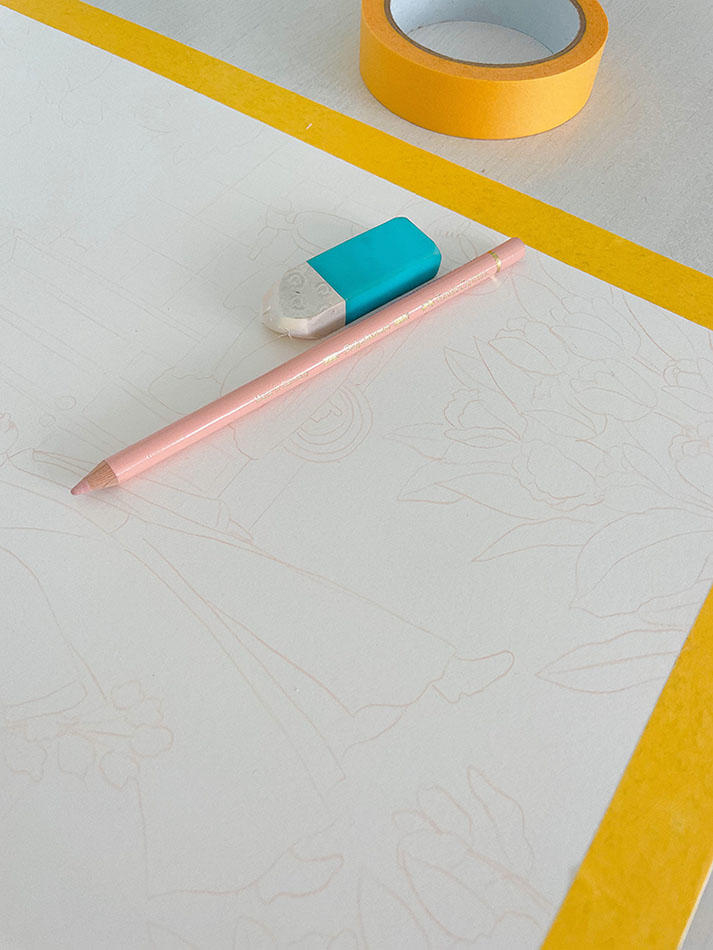
Once you’ve built this fusion of ideas, begin some rough sketches (I like to use Moleskine sketchbooks).
When you’re happy with your concept you can begin mapping out the final painting. Working on Cassart 300gsm (hot press) paper, I like to use a light coloured pencil so it doesn’t shine through into my final drawing.
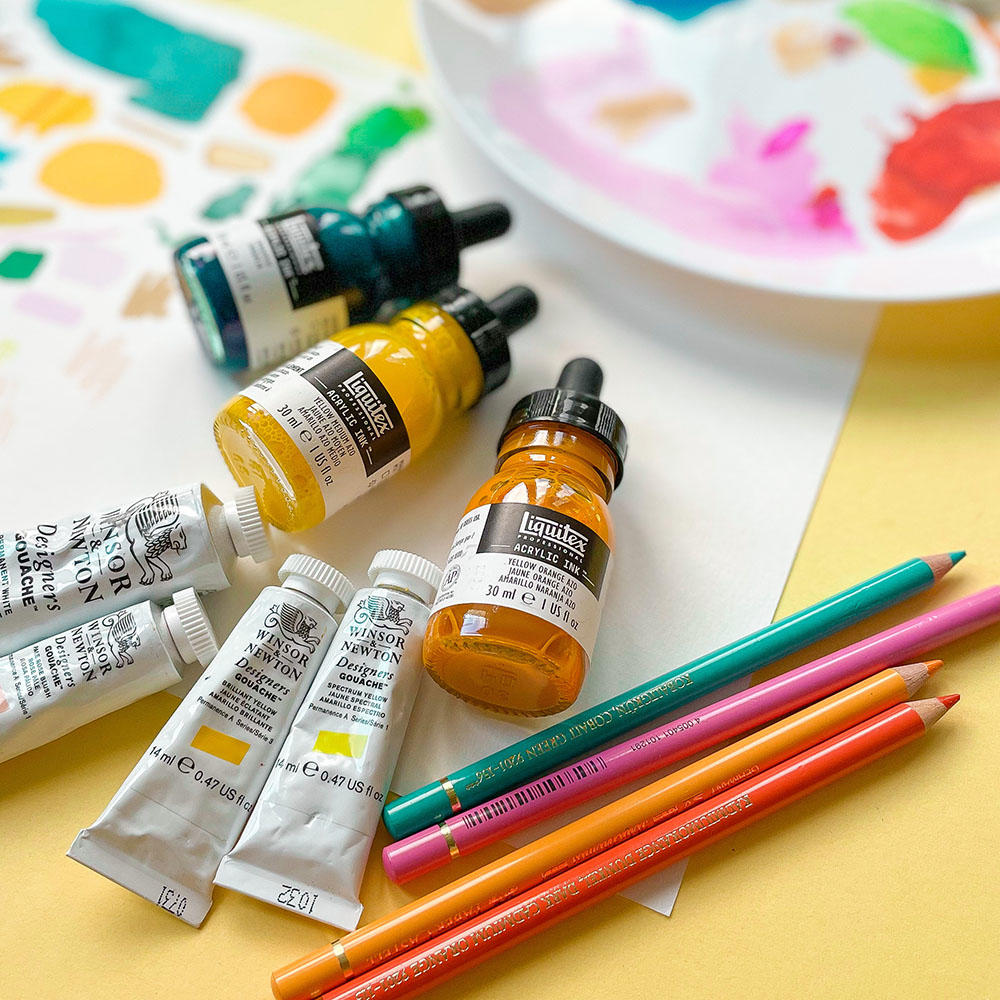
STEP 3 - BUILD A BASE
The base, or the “foundation” of your painting is important. This is a great way to start creating movement and light that can be built on top of.
I like to use Liquitex acrylic ink or Winsor and Newton water colours. Both these materials are quite freeing to work with and will often create interesting dispersed colour variations.
Acrylic inks are a fantastic base as they are permanent once dry. This means you can use other water based materials on top without them bleeding and blending into one another.
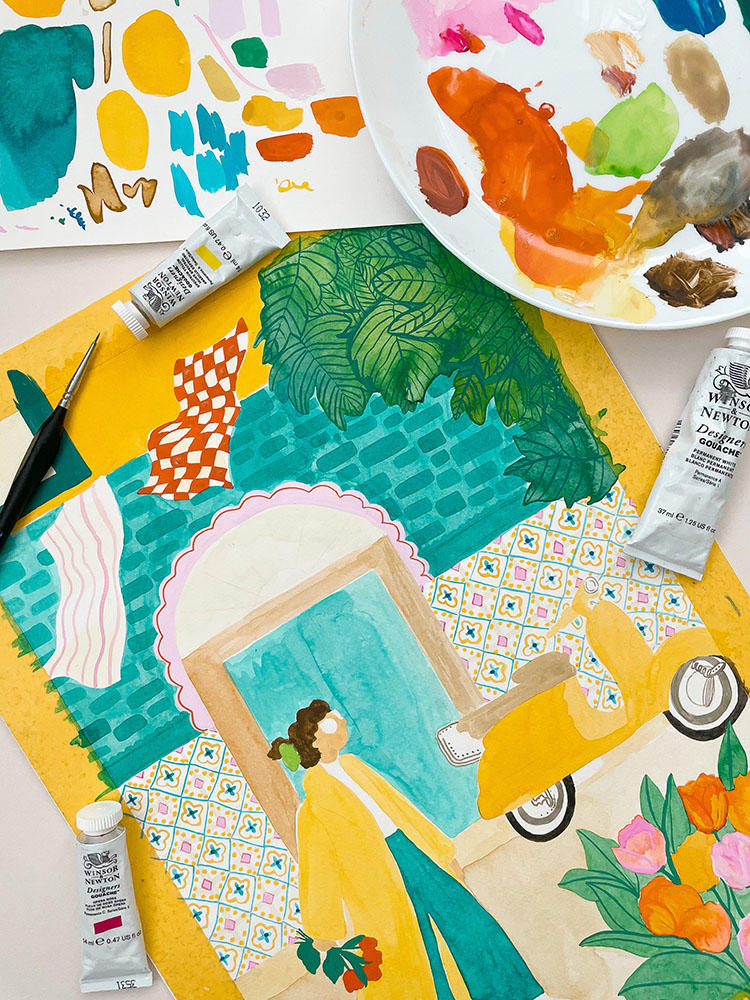
STEP 4 - TEXTURE AND DEPTH
This is where we can begin to accentuate shapes and forms. For this I normally use a water based gouache (again I like Winsor and Newton designer gouache).
You can work from a translucent to opaque consistency, allowing you to mask errors or build texture and depth variation.
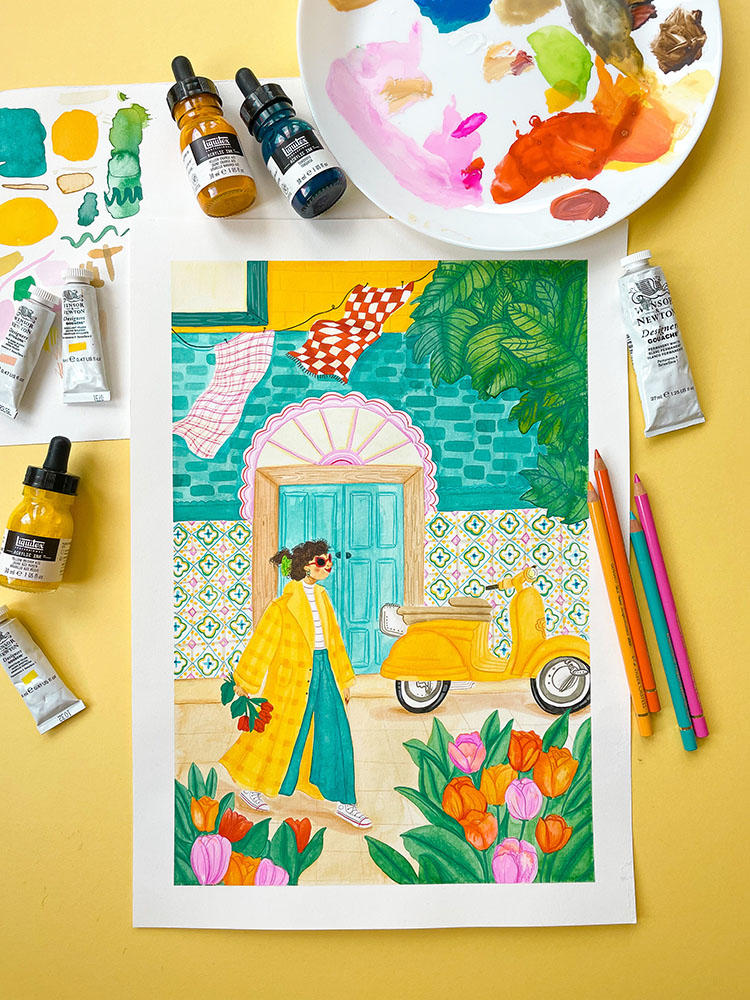
STEP 5 - NITTY GRITTY DETAILS
Personally my favourite stage - adding all the final touches. The materials used to build the image so far make a great surface for pencils. I switch between Fabercastell Polychromos and Caran D’ache, to lightly add shadow, direction and detail.
REMEMBER:
Practice, patience and progress.
Just because this technique works for me, it might not necessarily work for you or your style. It’s all about practising with new mediums until they feel comfortable.
Being patient with yourself and what you’re creating. Progress can happen in the smallest of details and often accidents. Most importantly…have fun!